Deploy a Synchronizer Docker container in Amazon AWS
Overview
This page provides instructions on how to deploy the Split Synchronizer Docker container using Amazon AWS ECS service.
Prerequisites
- AWS CLI installed and configured
- Docker installed
- An AWS account with permissions to use ECS and ECR
- Split Synchronizer Docker image or access to
splitsoftware/split-synchronizer
Step-by-step Guide
-
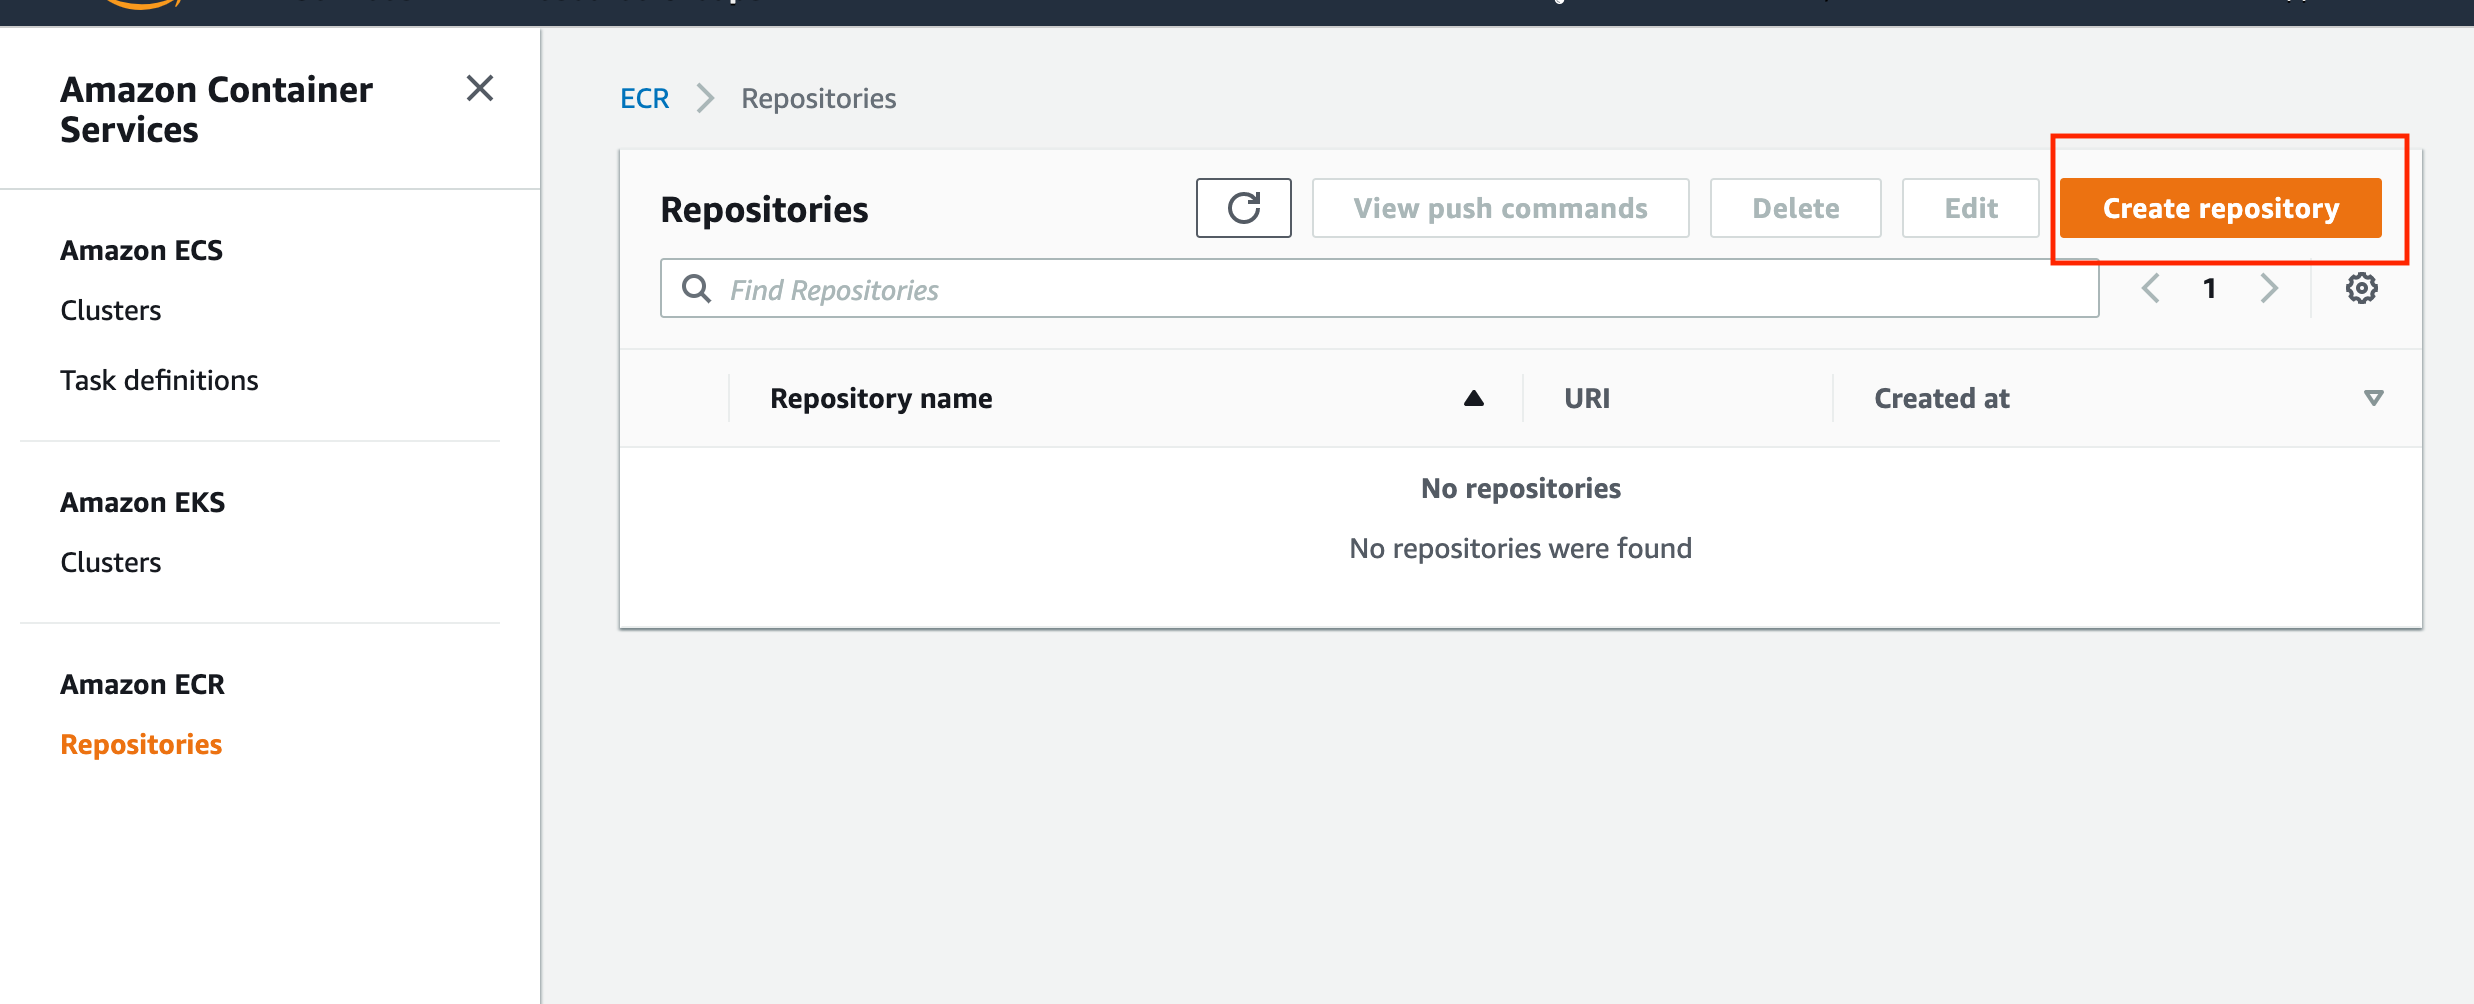
In the AWS console, go to ECR → Create repository.
-
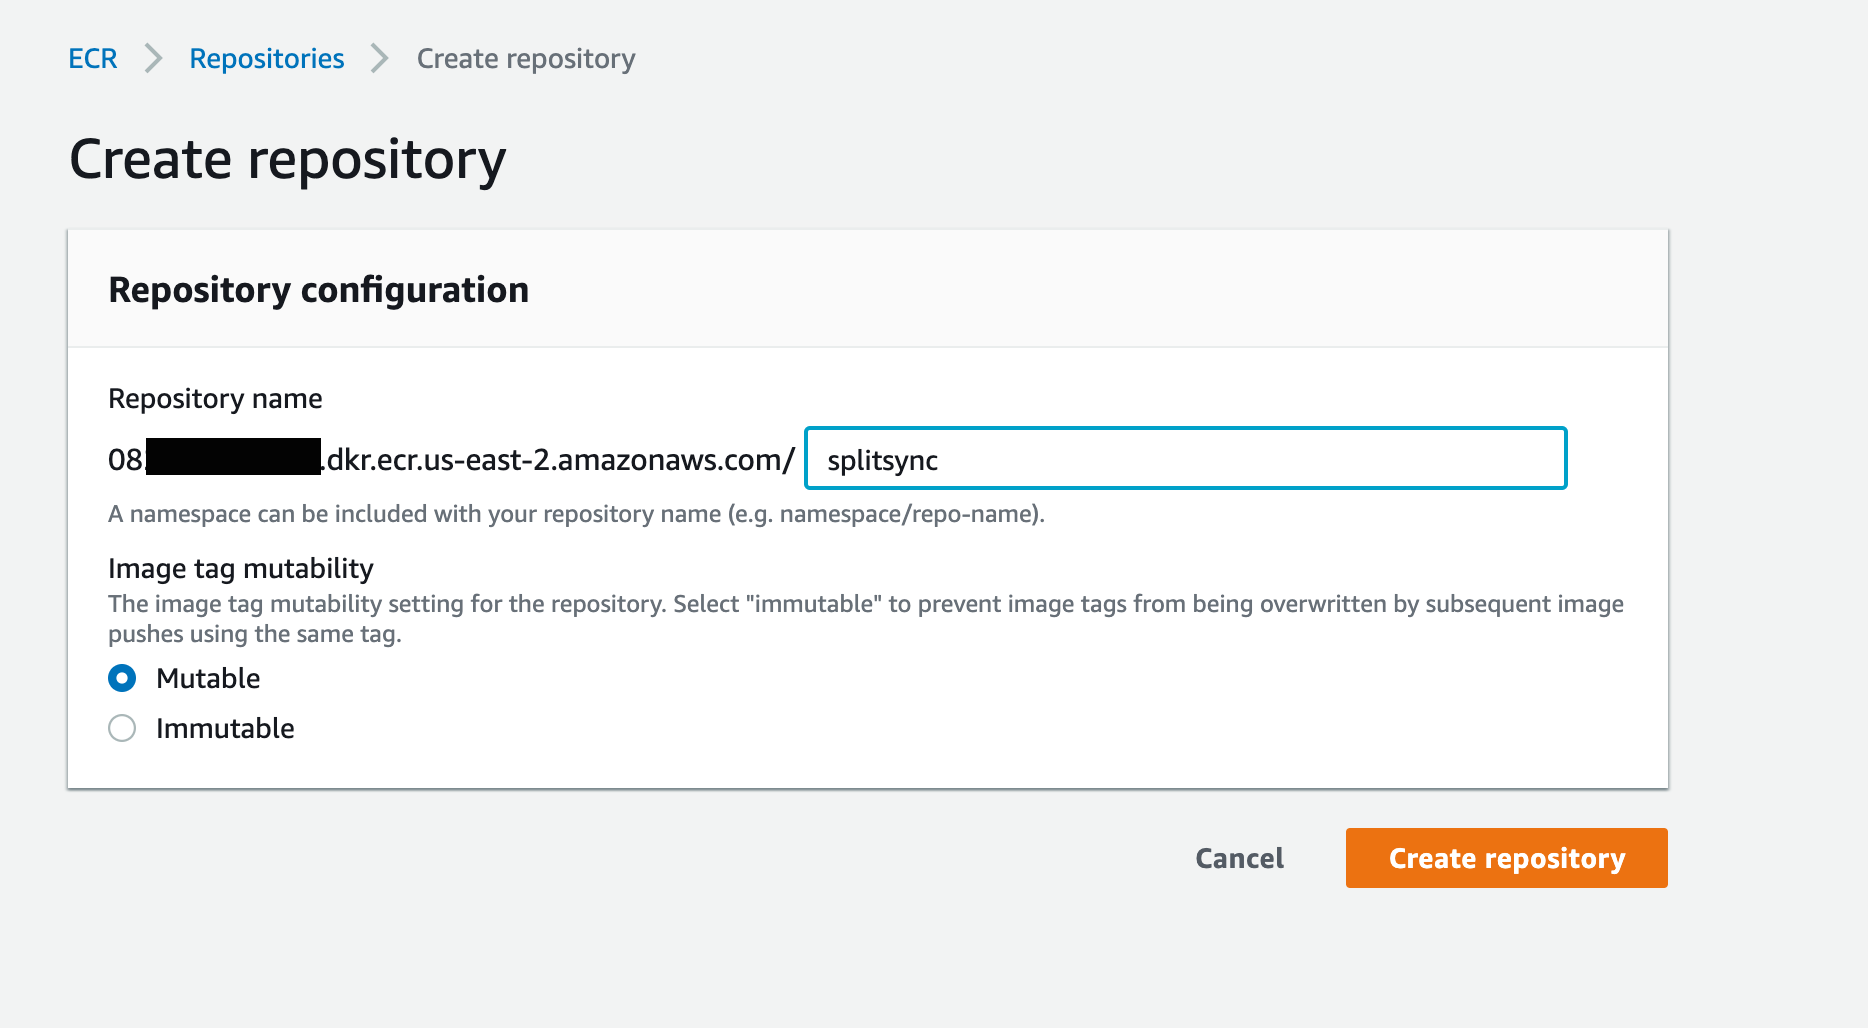
Provide a name for your new repository.
-
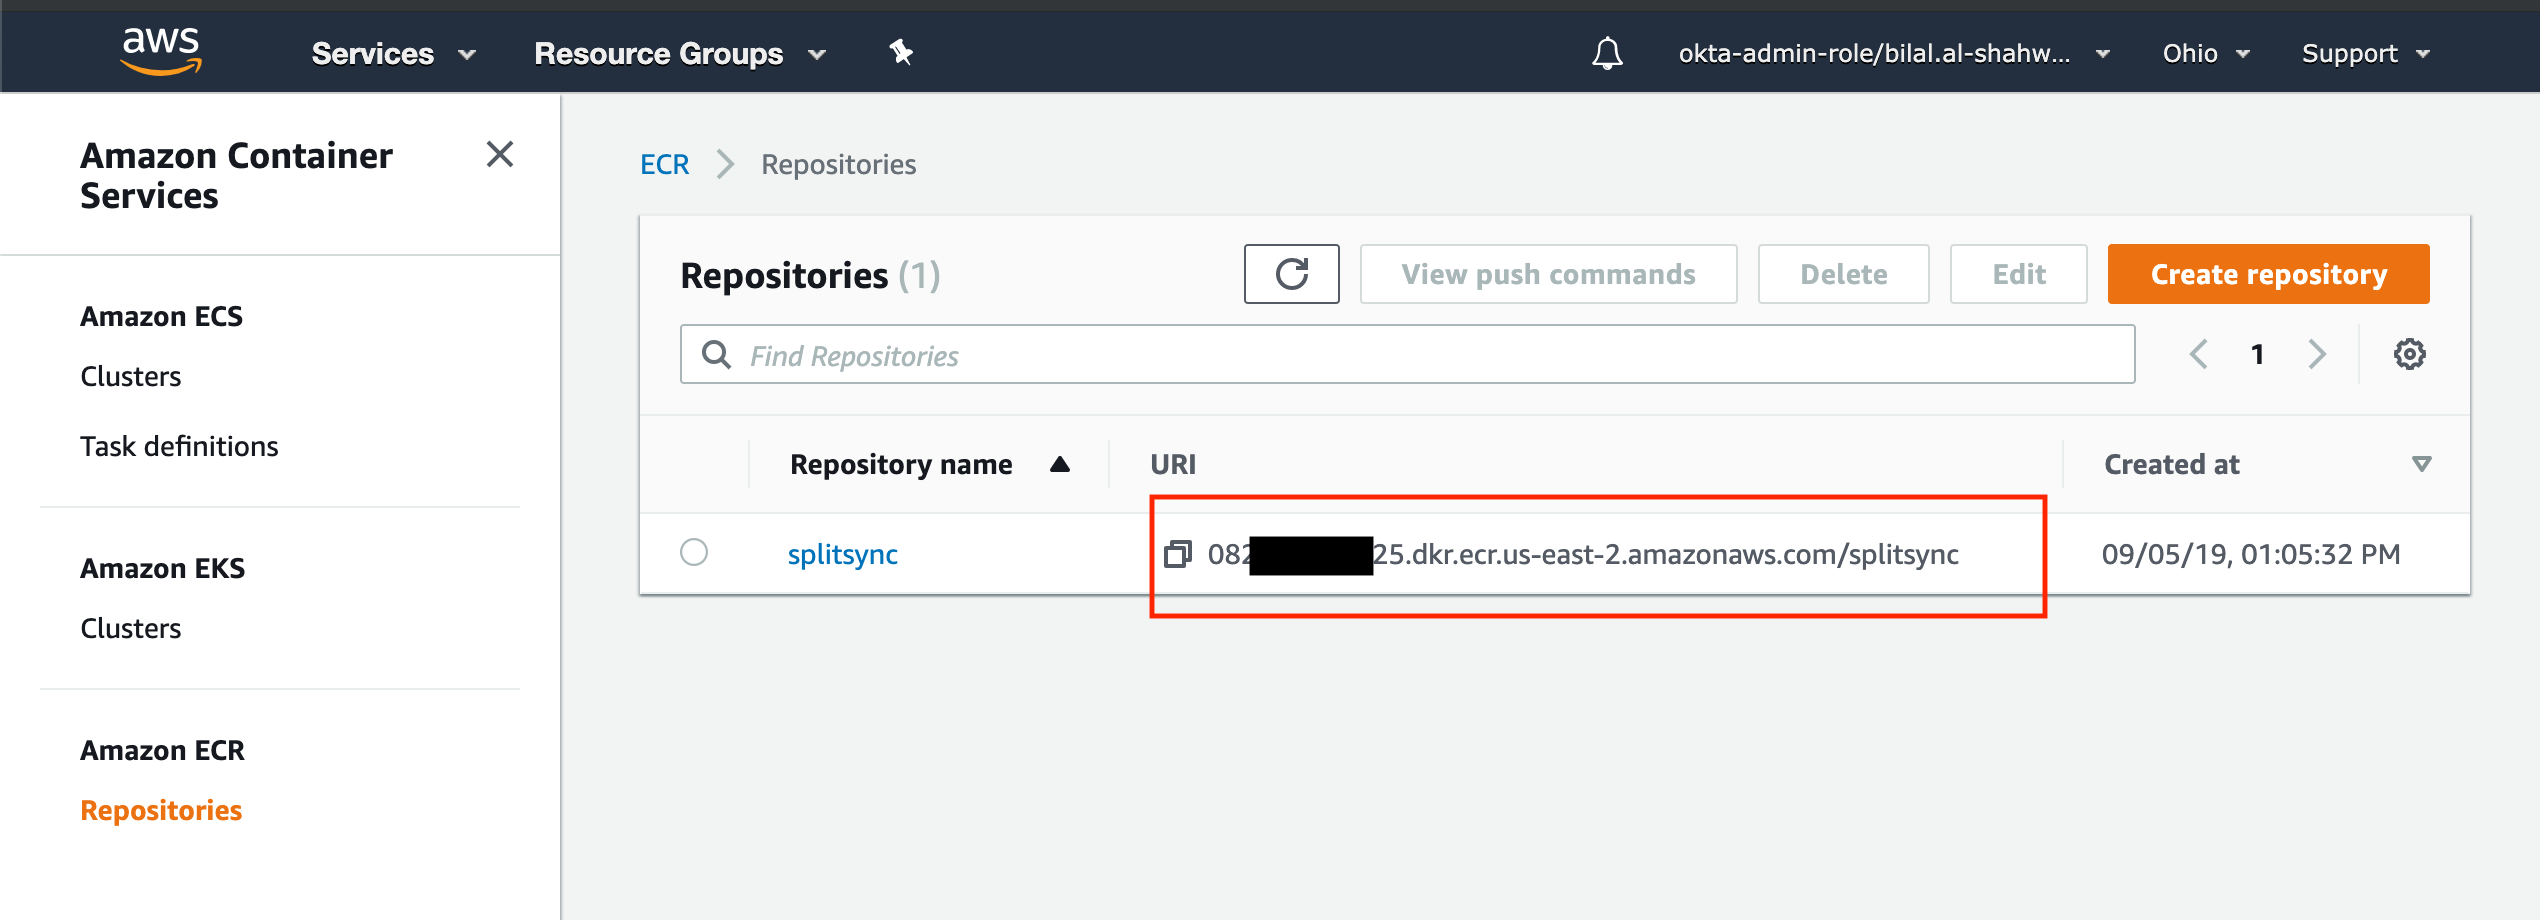
Once created, note the repository URL — it will be used later.
-
Authenticate Docker to AWS ECR by running
$(aws ecr get-login --no-include-email --region us-east-2). If this fails, check AWS help pages. -
Pull the Synchronizer image locally by running
docker pull splitsoftware/split-synchronizer. -
Get the image ID by running
docker images.For example:
REPOSITORY                          TAG     IMAGE ID       CREATED      SIZE
splitsoftware/split-synchronizer latest 3179320c768e 3 weeks ago 941MB -
Tag the image for your AWS ECR repository by running
docker tag 3179320c768e 082XXXXX925.dkr.ecr.us-east-2.amazonaws.com/splitsync. -
Push the image to AWS ECR by running
docker push 082XXXXX925.dkr.ecr.us-east-2.amazonaws.com/splitsync. The image appears in the AWS ECR Repositories list.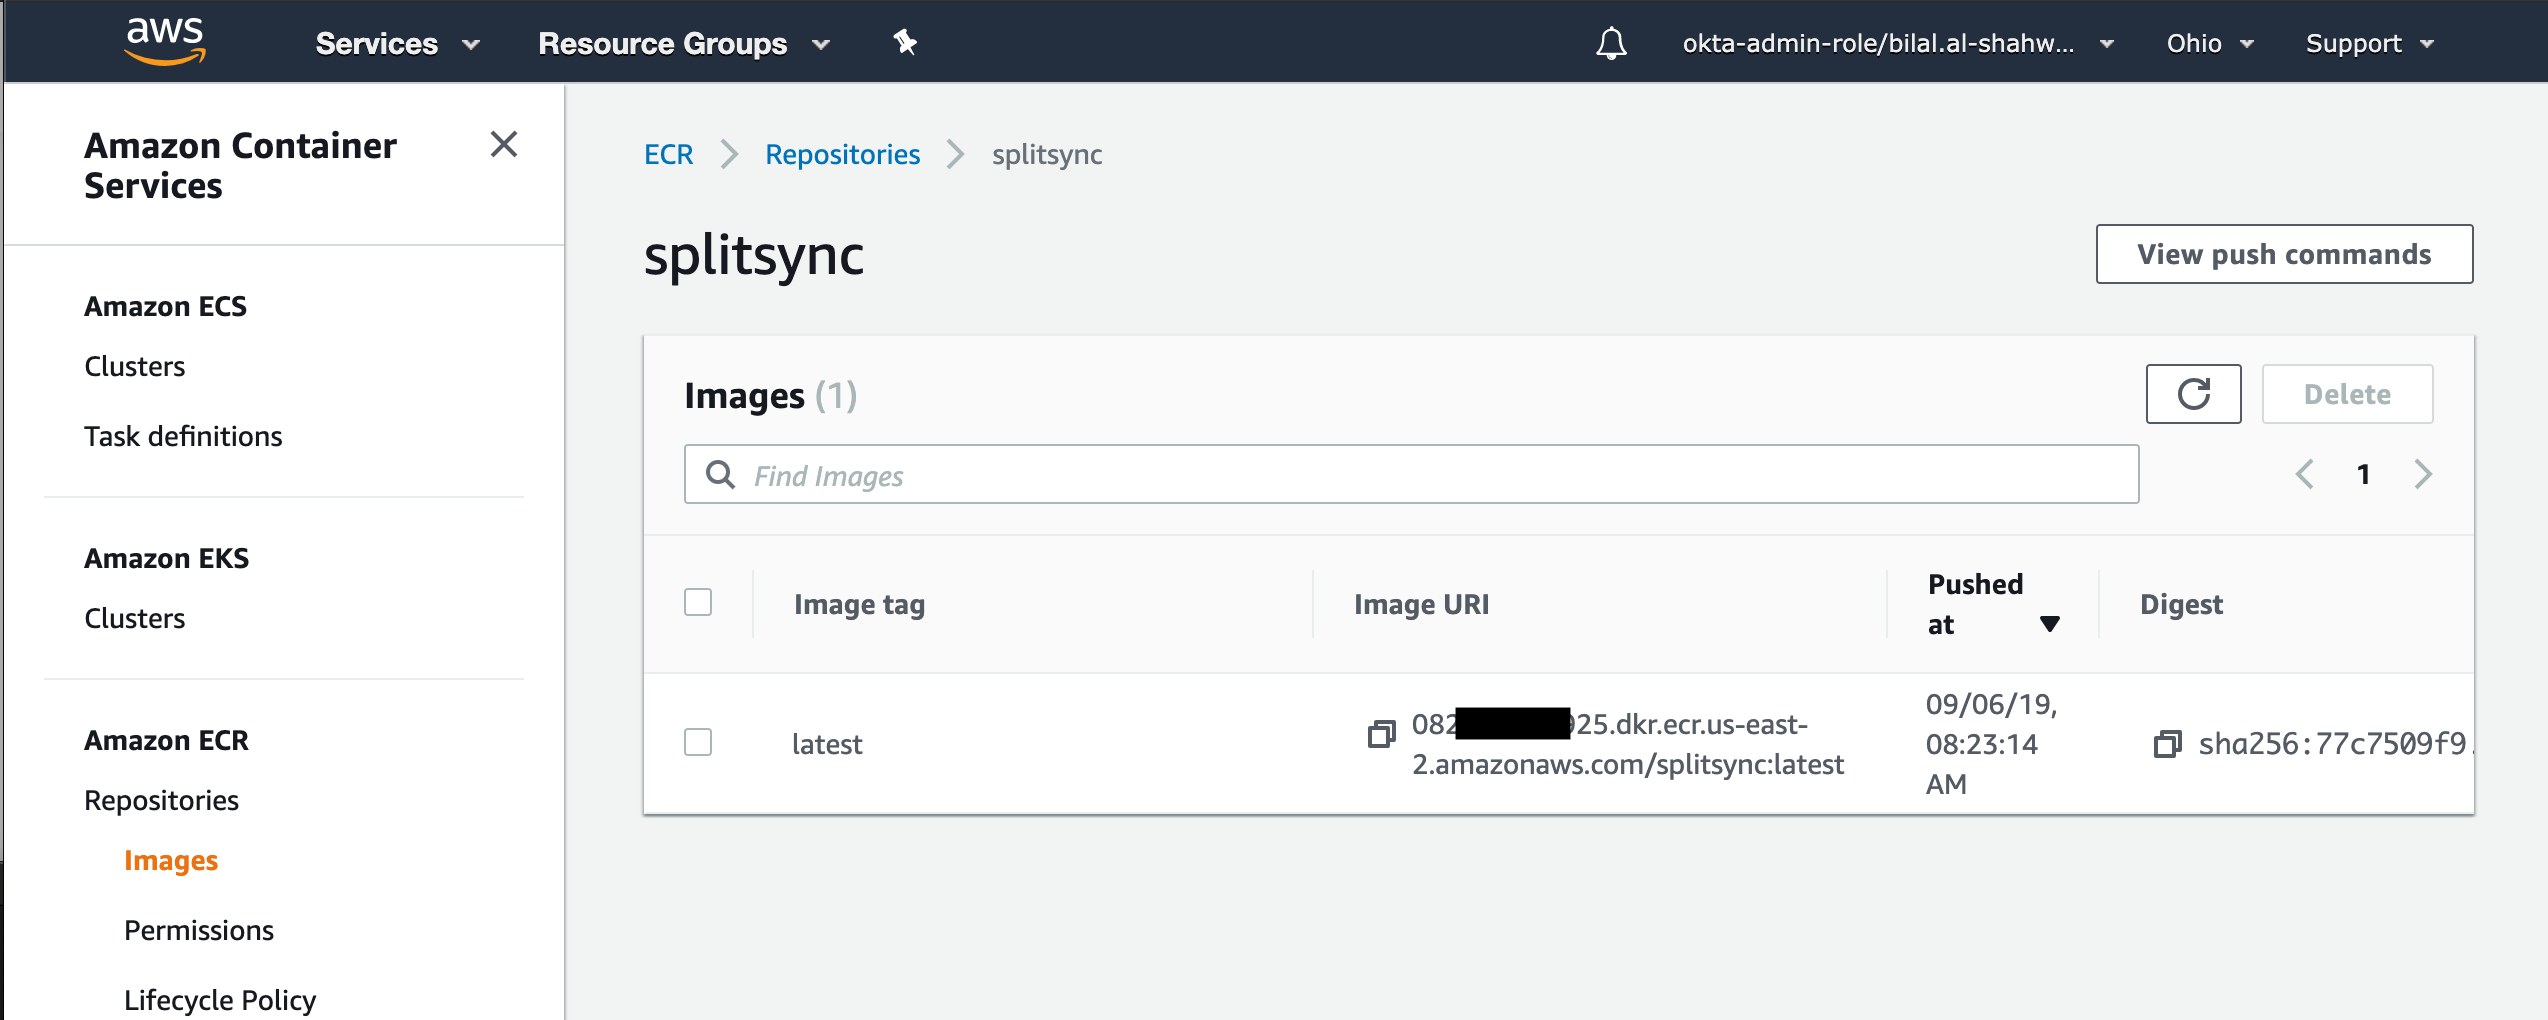
-
Go to ECS → Clusters → Create.
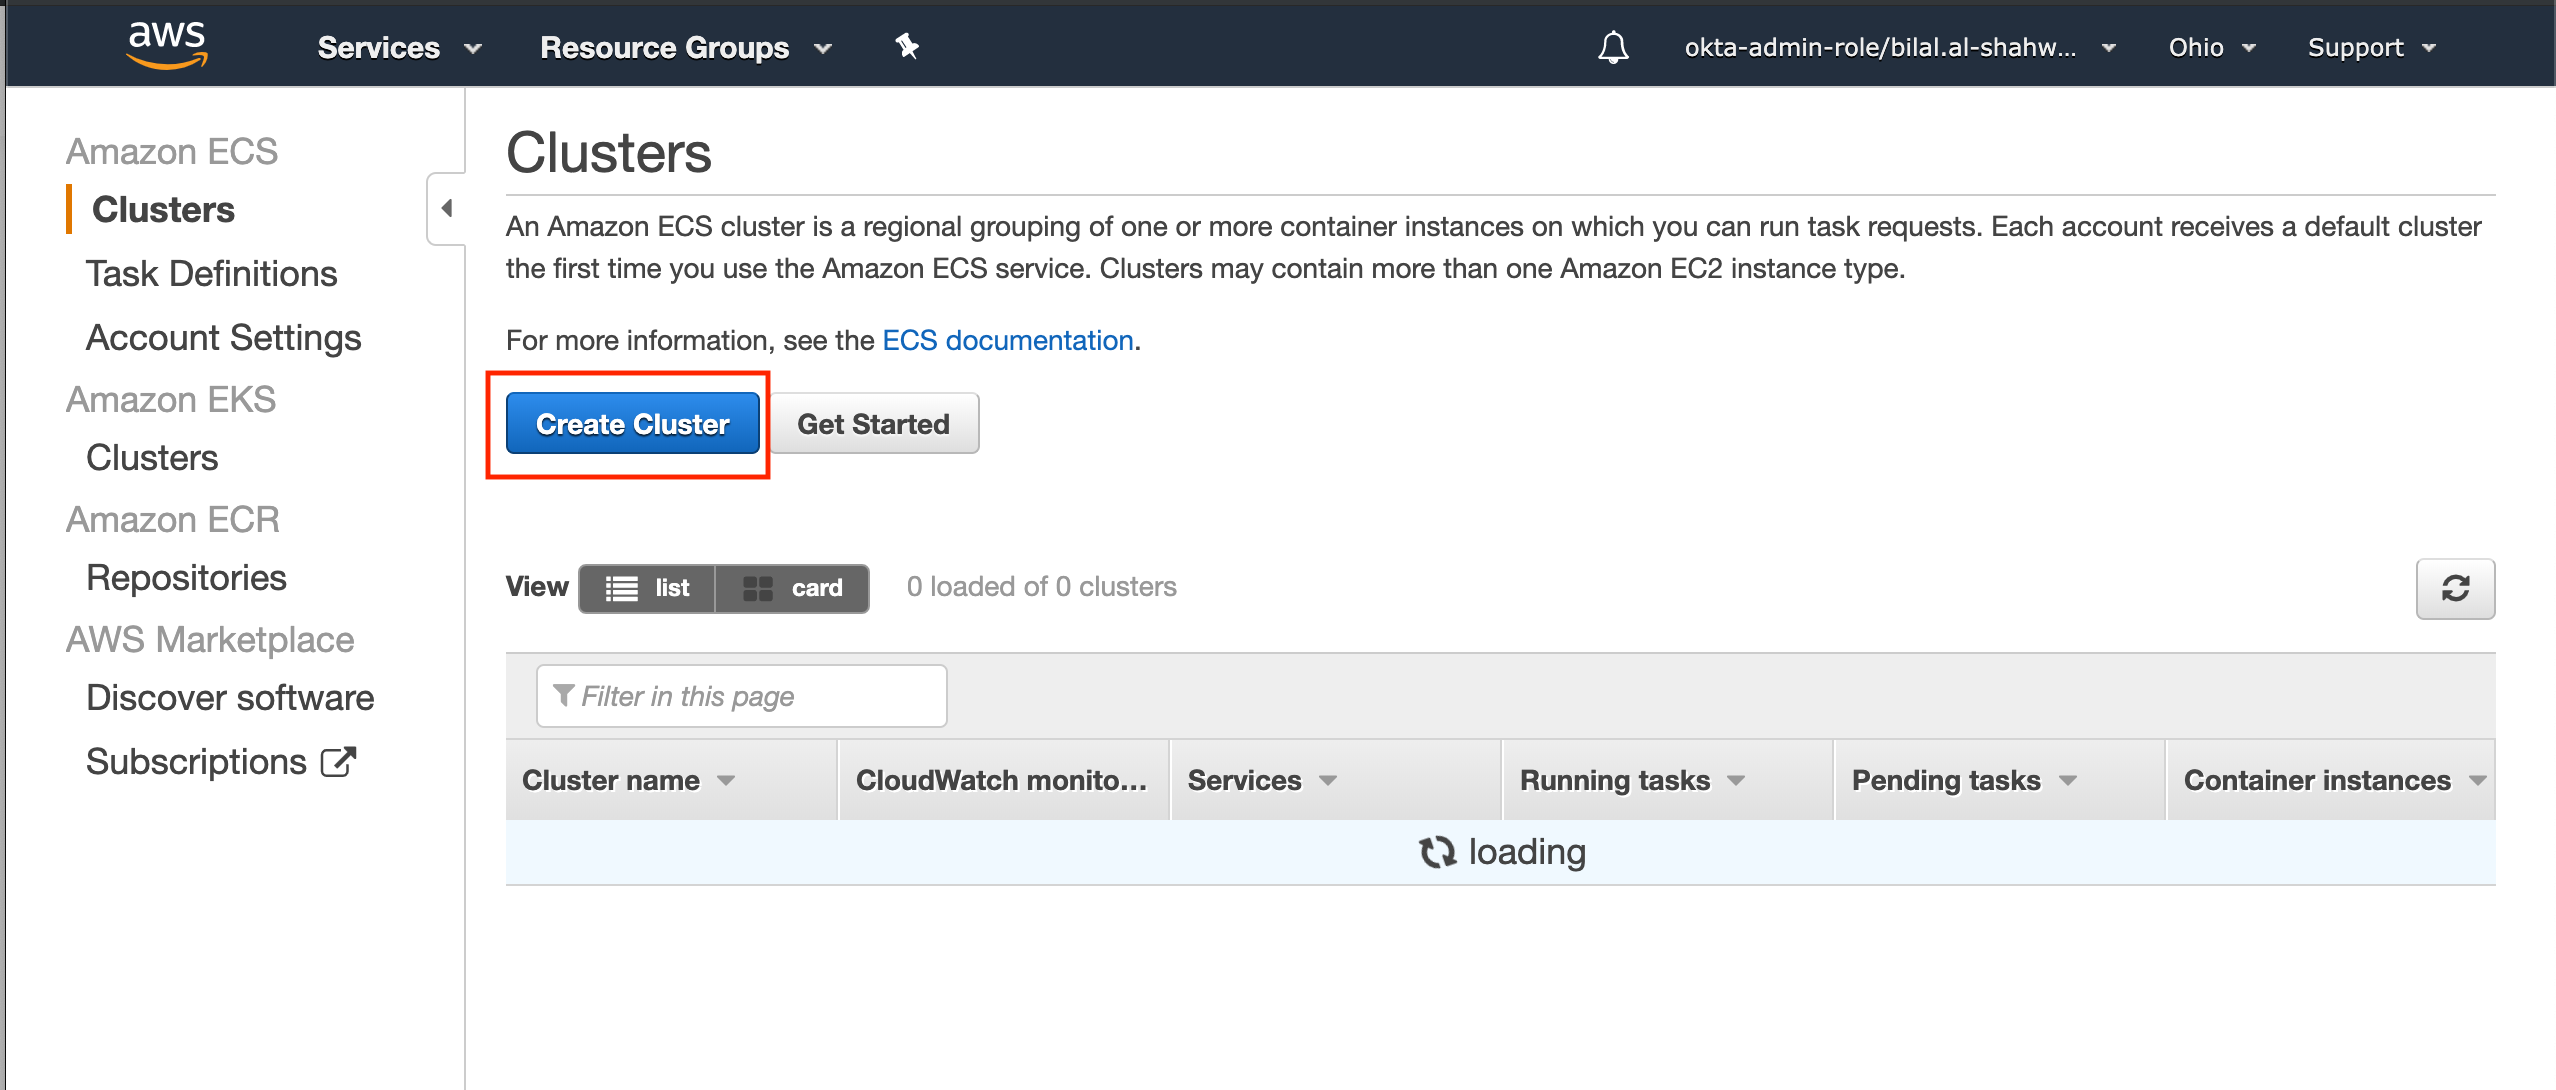
-
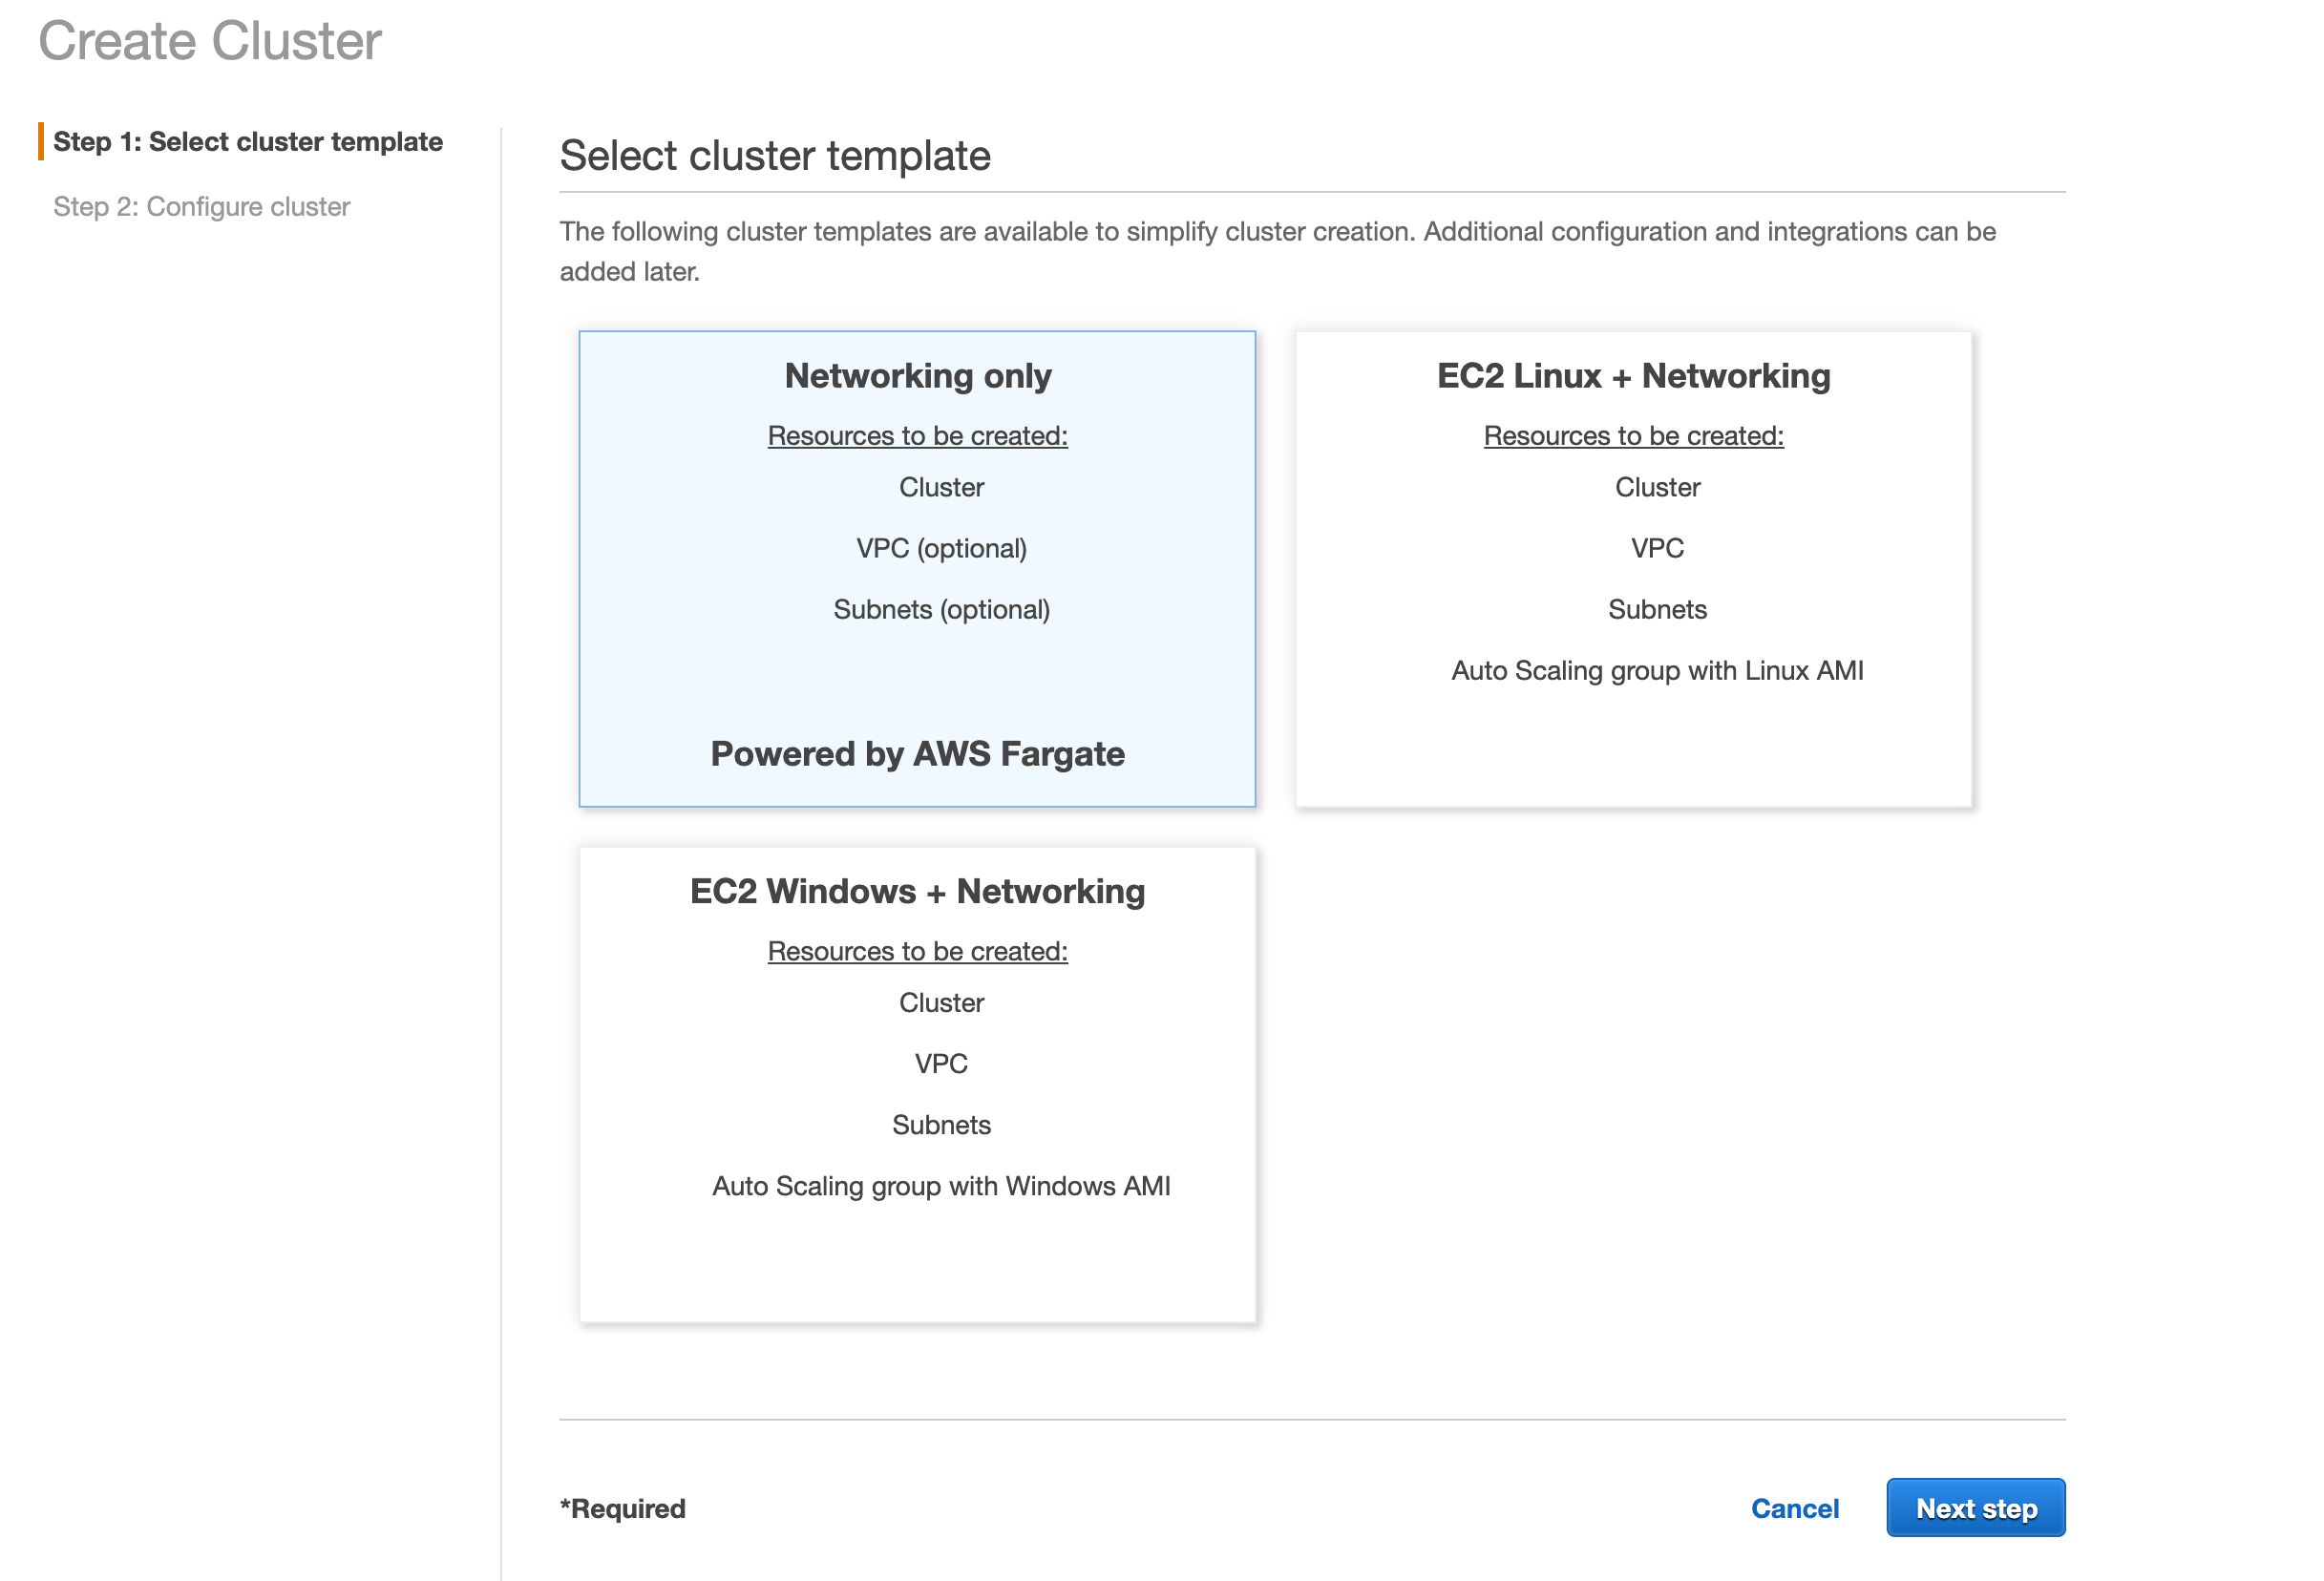
Select AWS Fargate (or your preferred cluster type).
-
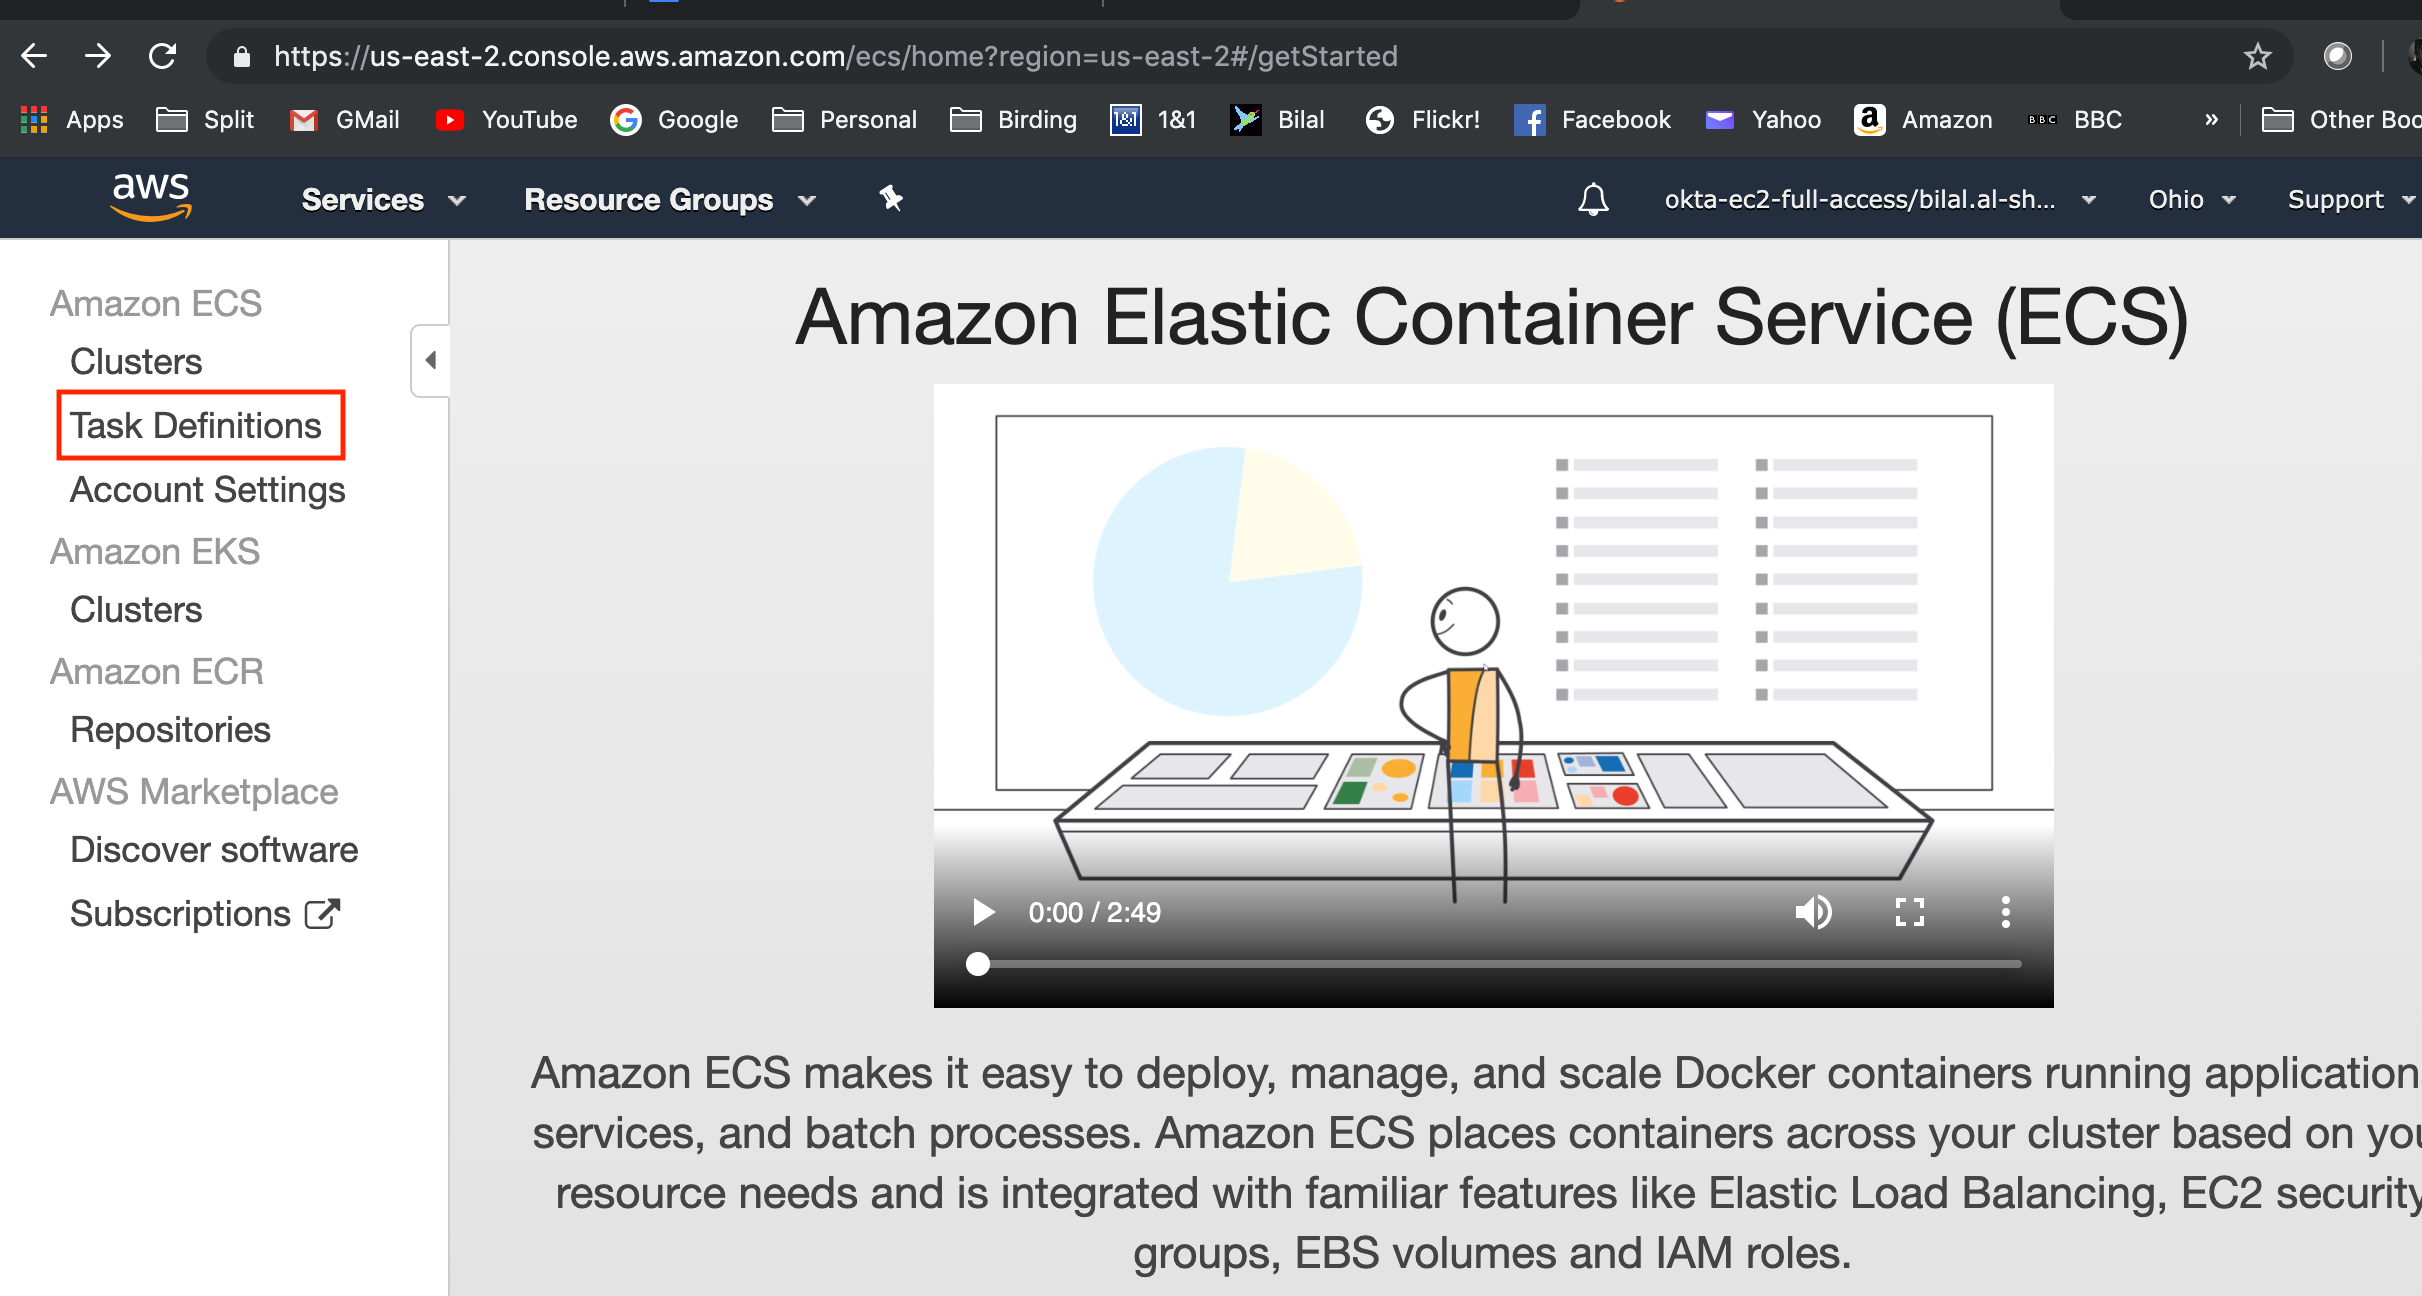
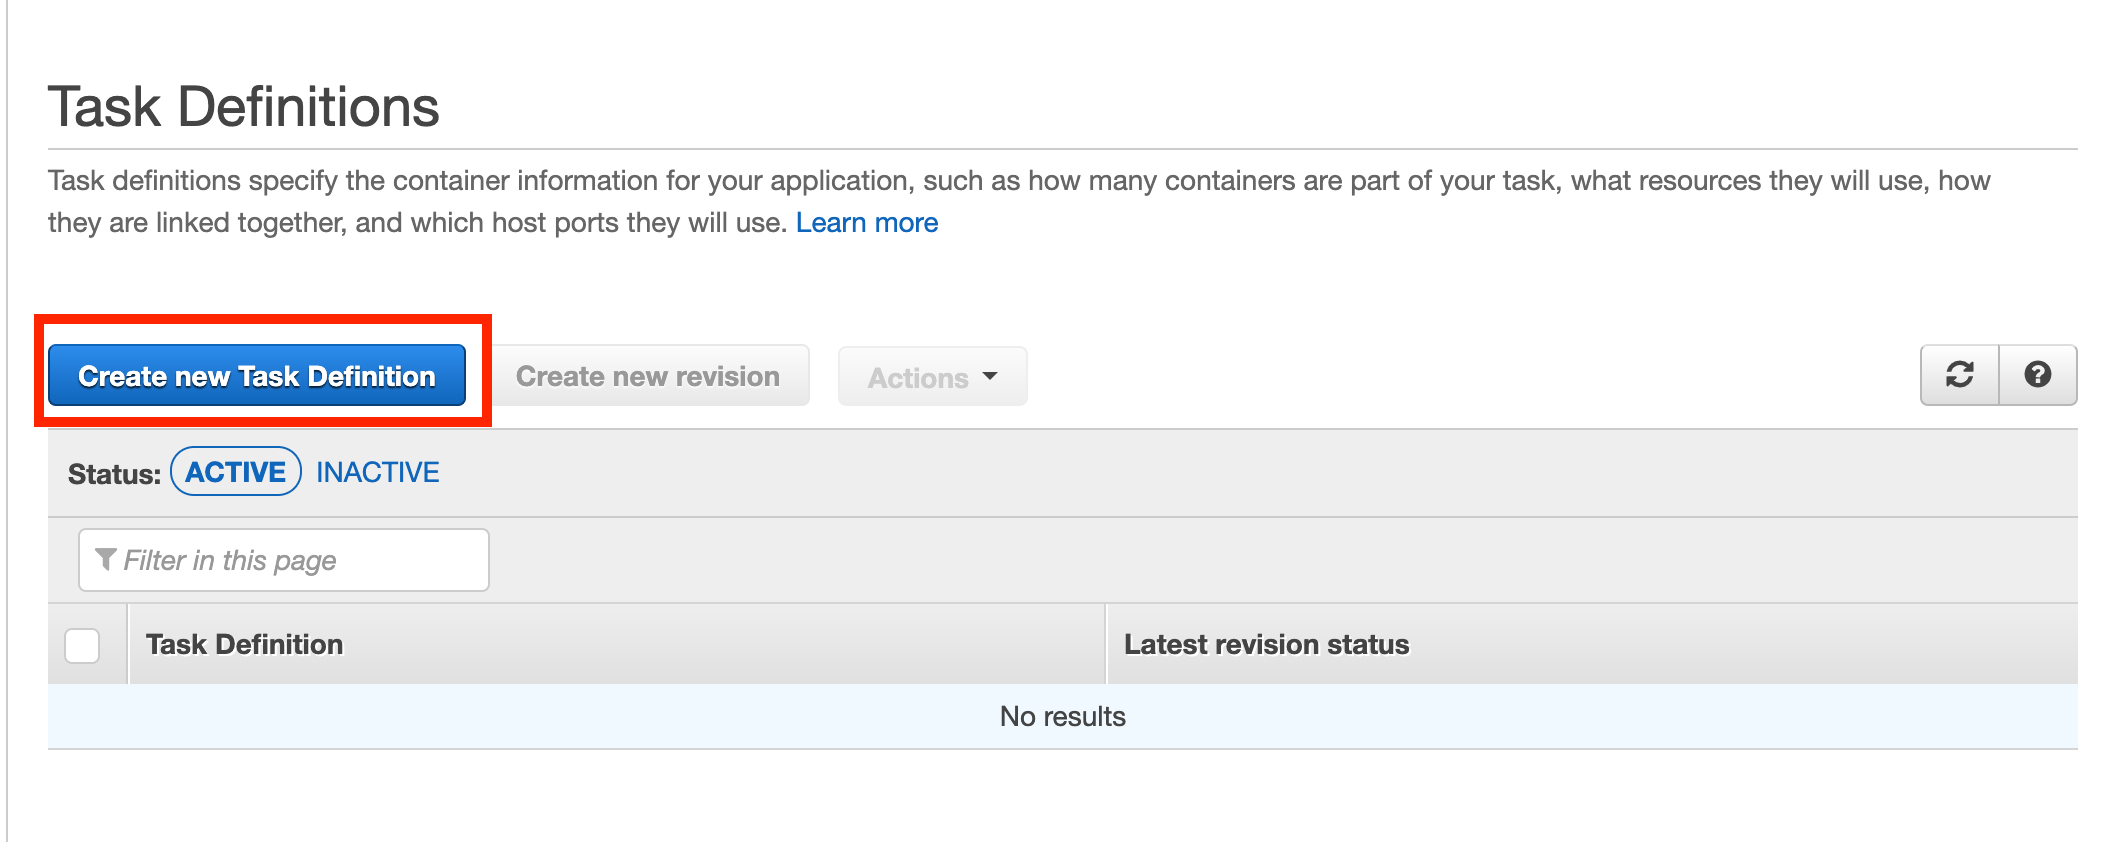
Go to ECS → Task Definitions → Create new Task Definition.
-
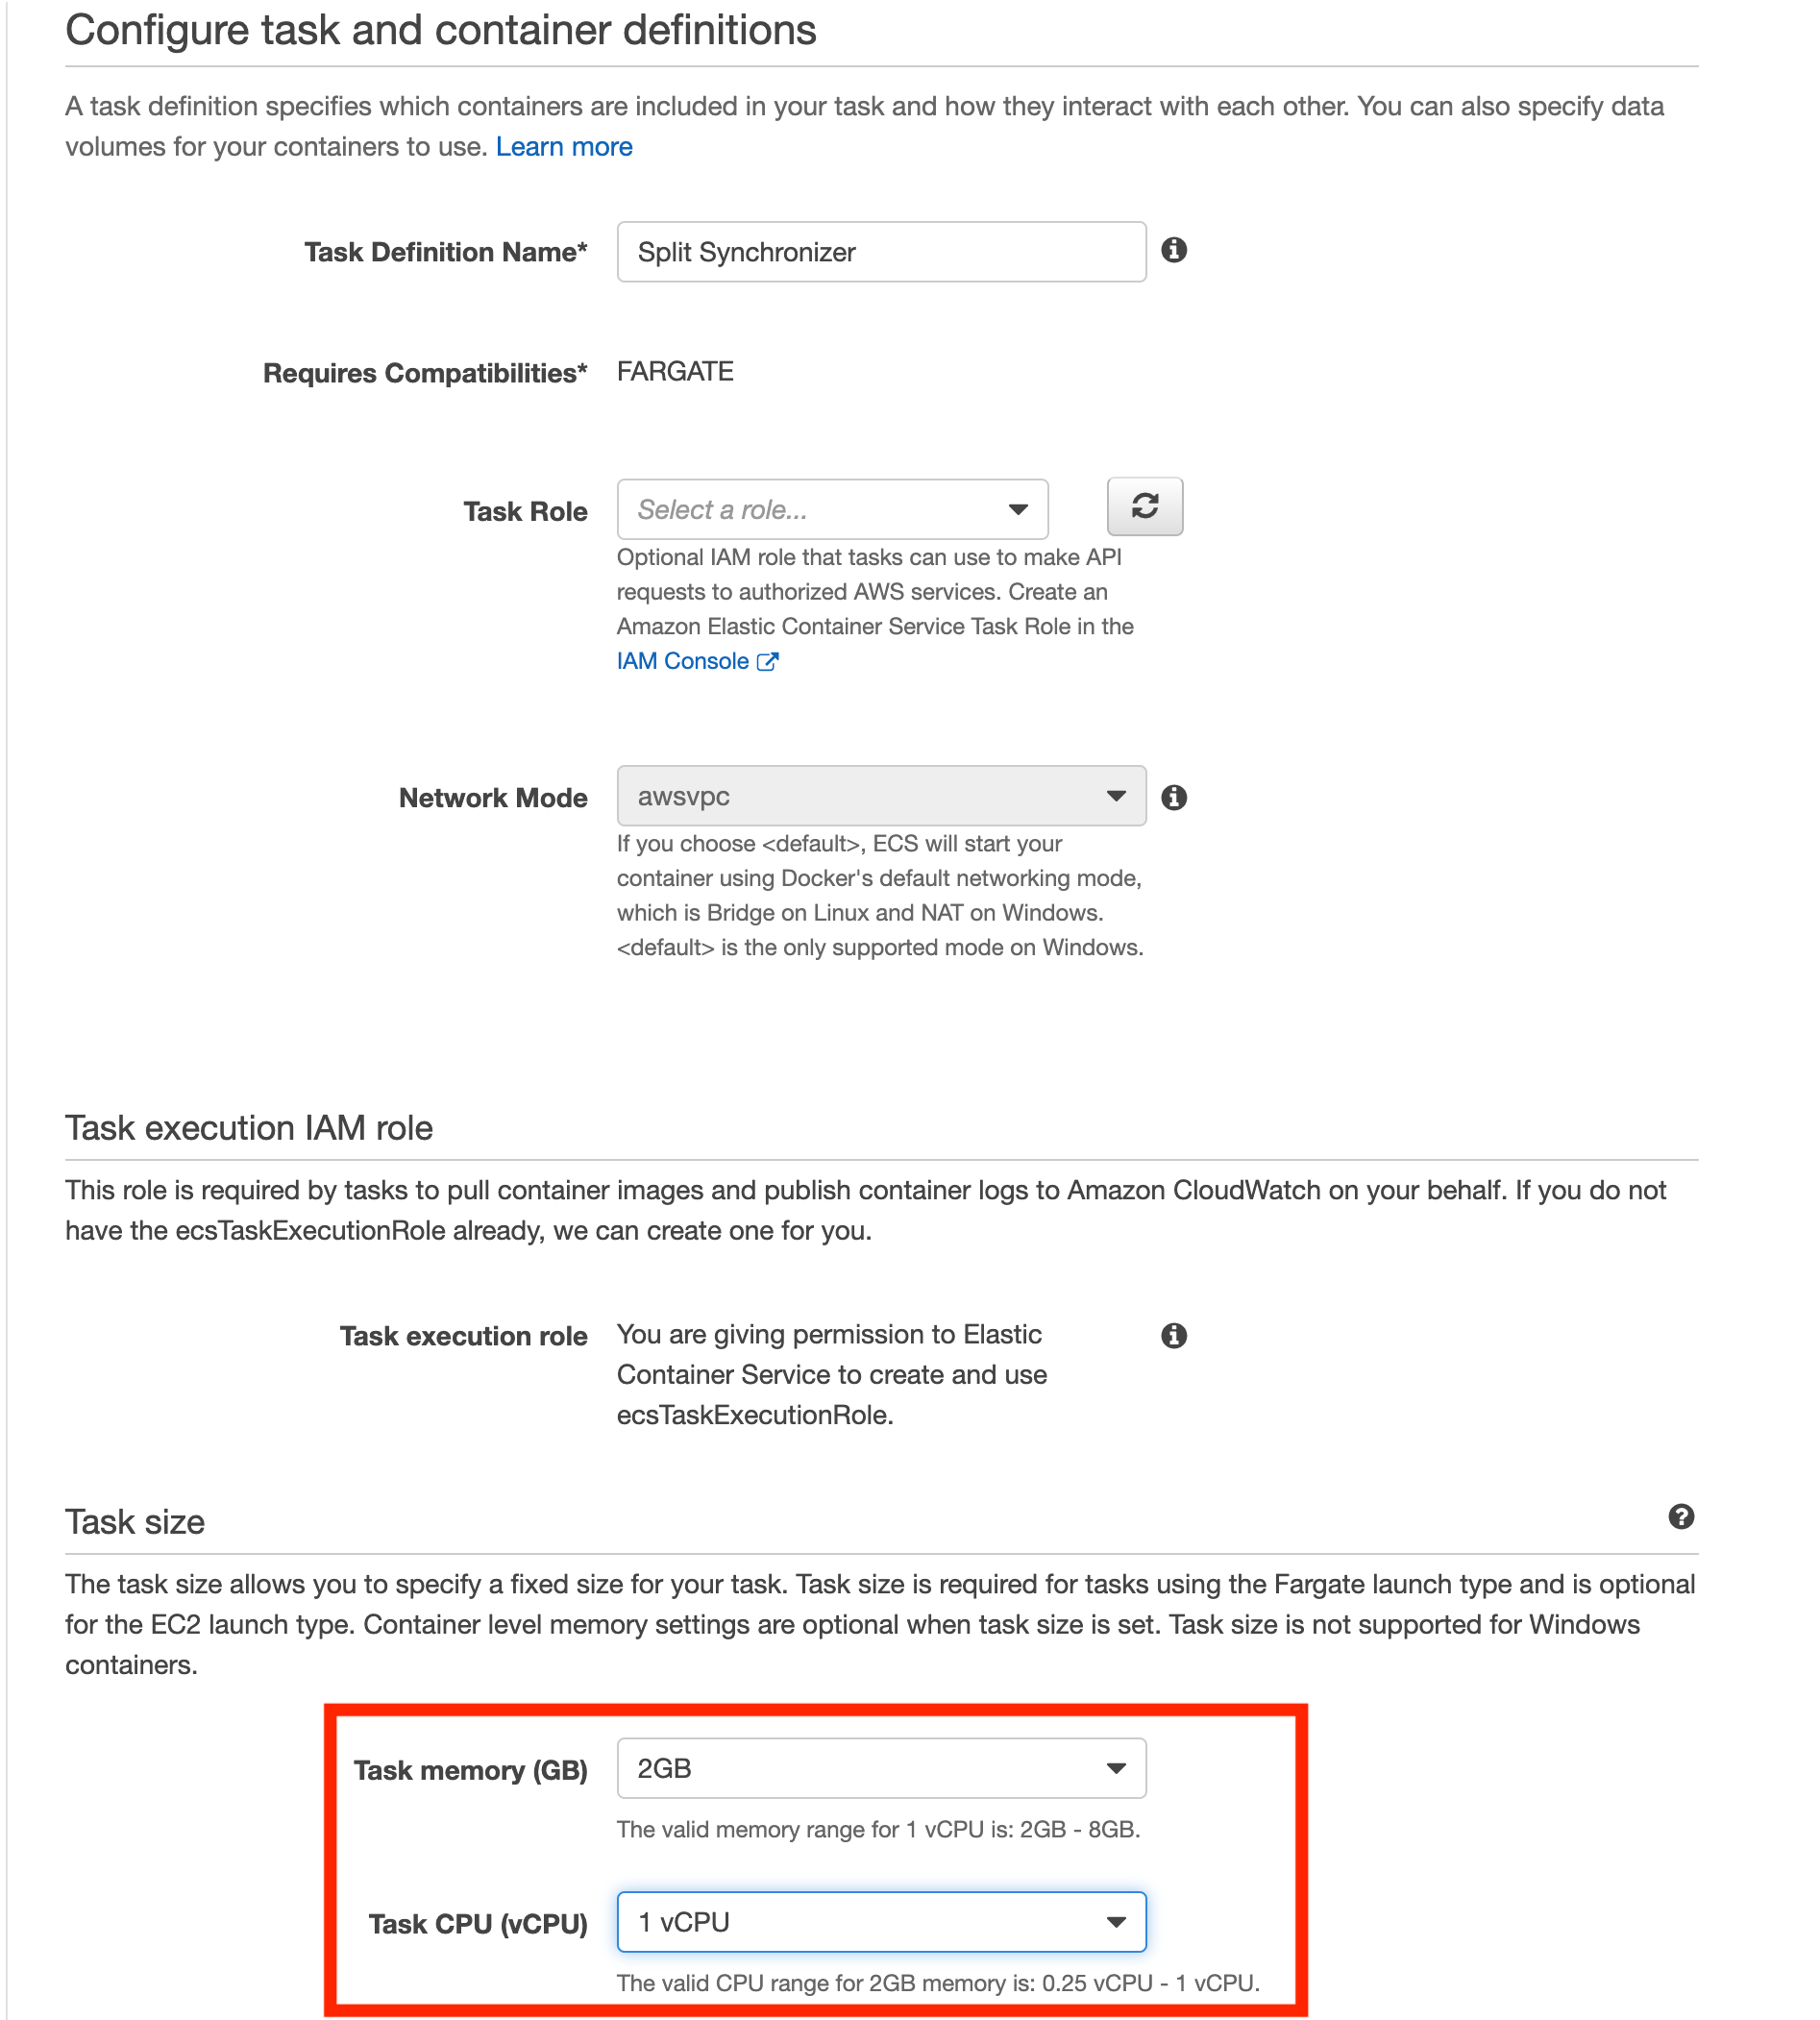
Choose the launch type.
-
Under Task Size, set the task memory to 2GB and CPU to 1 vCPU.
-
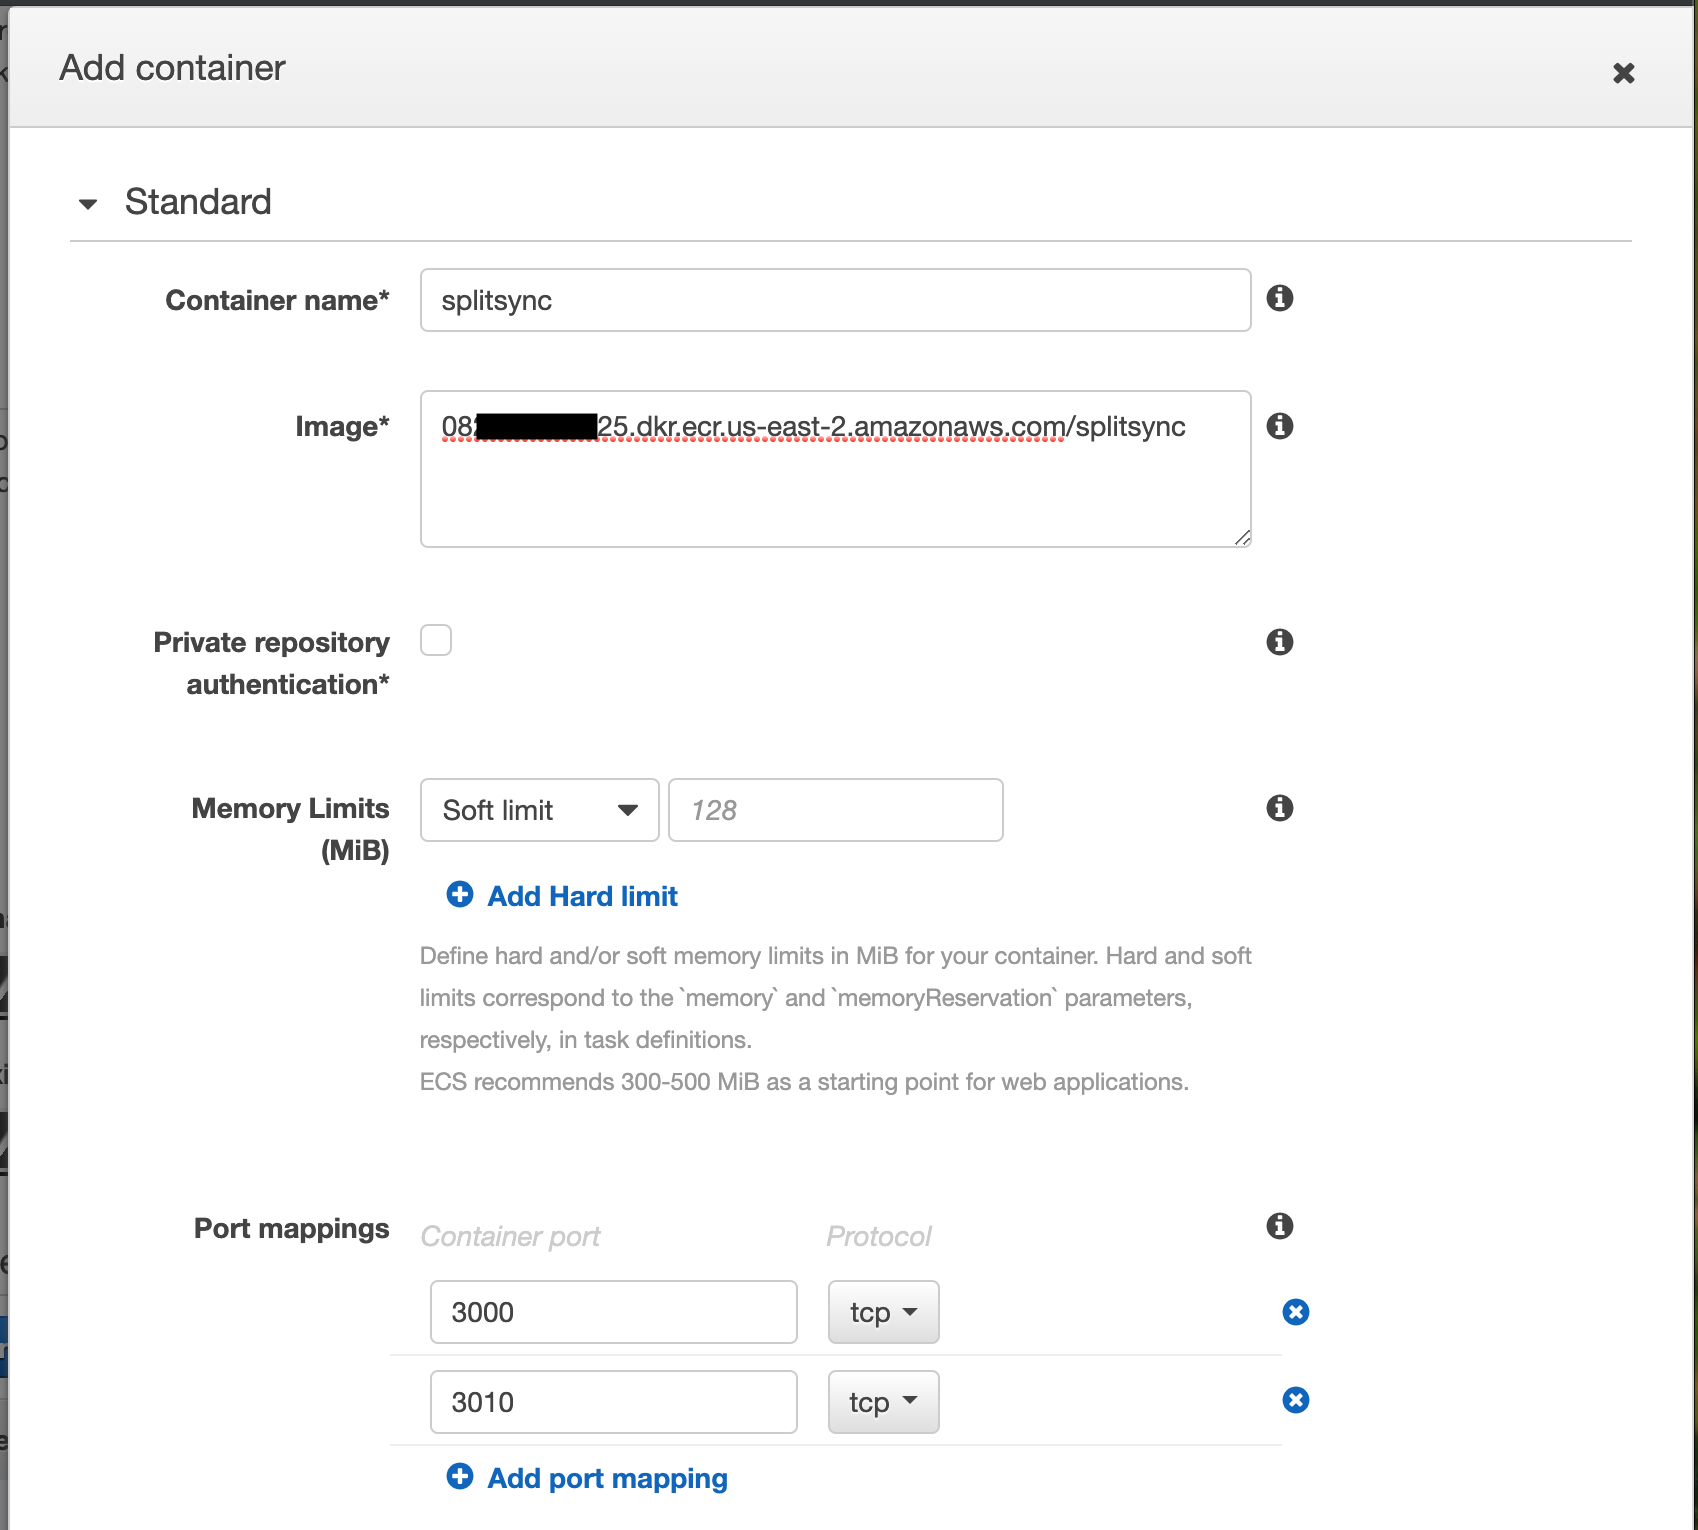
Add a container to the task:
-
Container name: Enter a descriptive name.
-
Image: Use your AWS ECR URL (e.g.,
082XXXXX925.dkr.ecr.us-east-2.amazonaws.com/splitsync). -
Port mappings:
3000/tcp
3010/tcp -
Environment variables (adjust as needed):
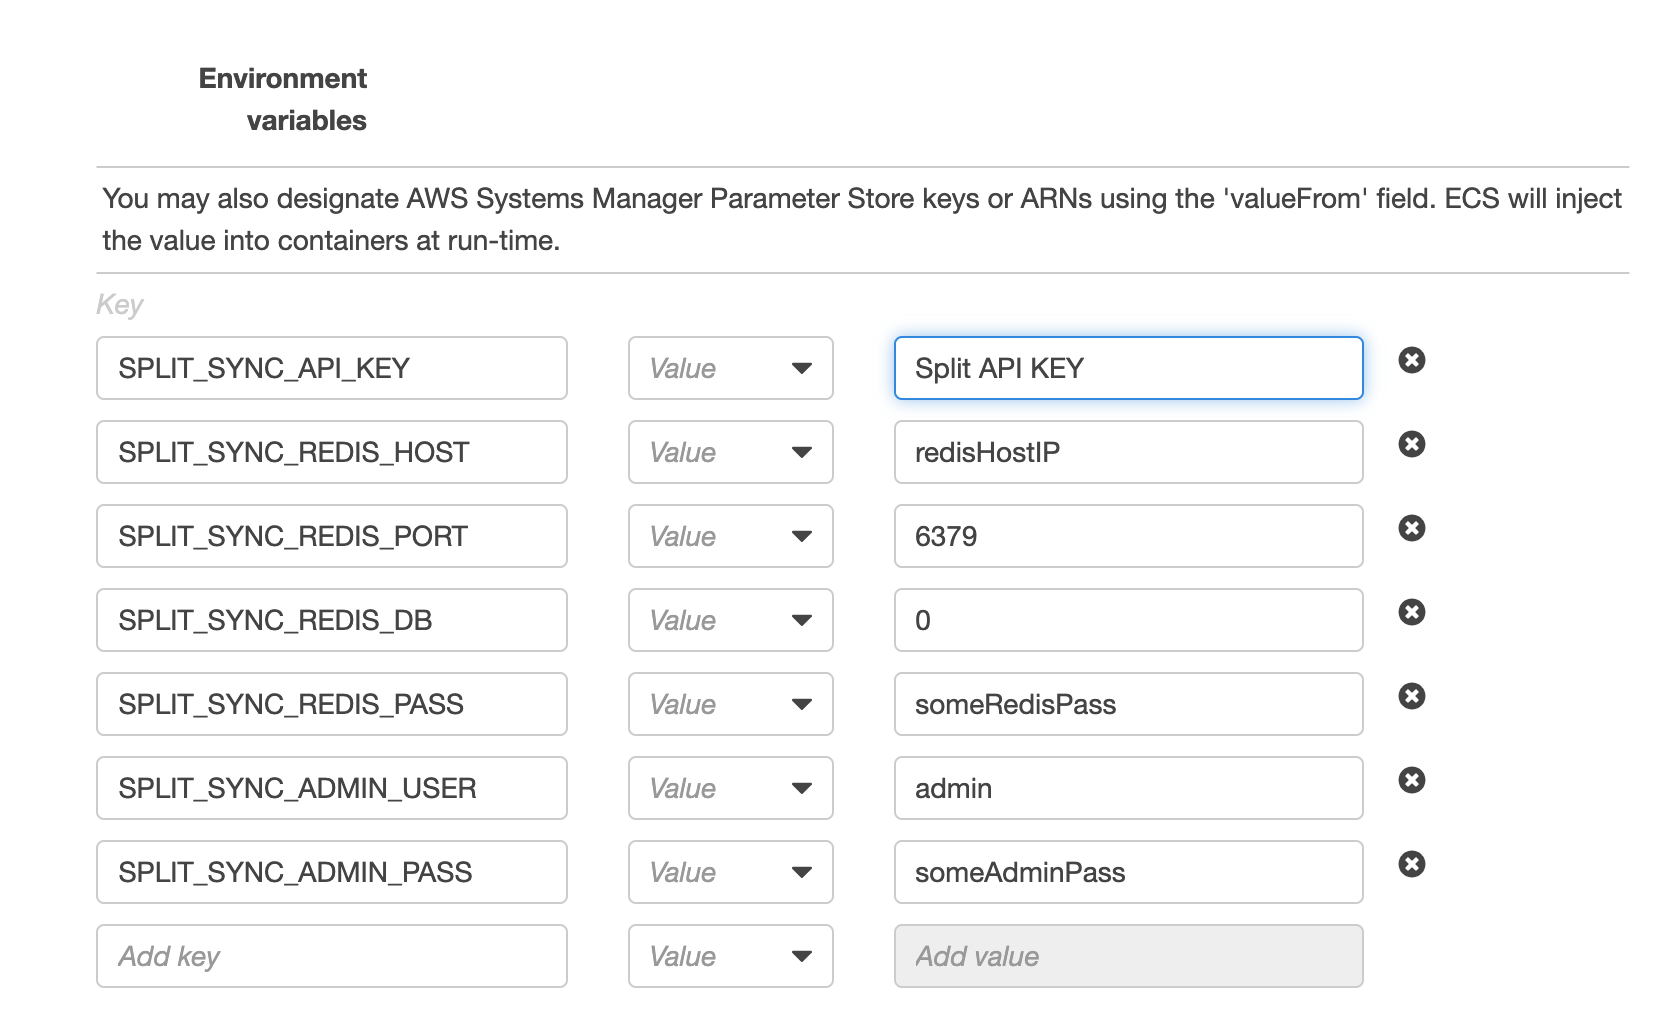
SPLIT_SYNC_APIKEY
SPLIT_SYNC_REDIS_HOST
SPLIT_SYNC_REDIS_PORT
SPLIT_SYNC_REDIS_DB
SPLIT_SYNC_REDIS_PASS
SPLIT_SYNC_ADMIN_USER
SPLIT_SYNC_ADMIN_PASS
-
-
Click Add, then Create.
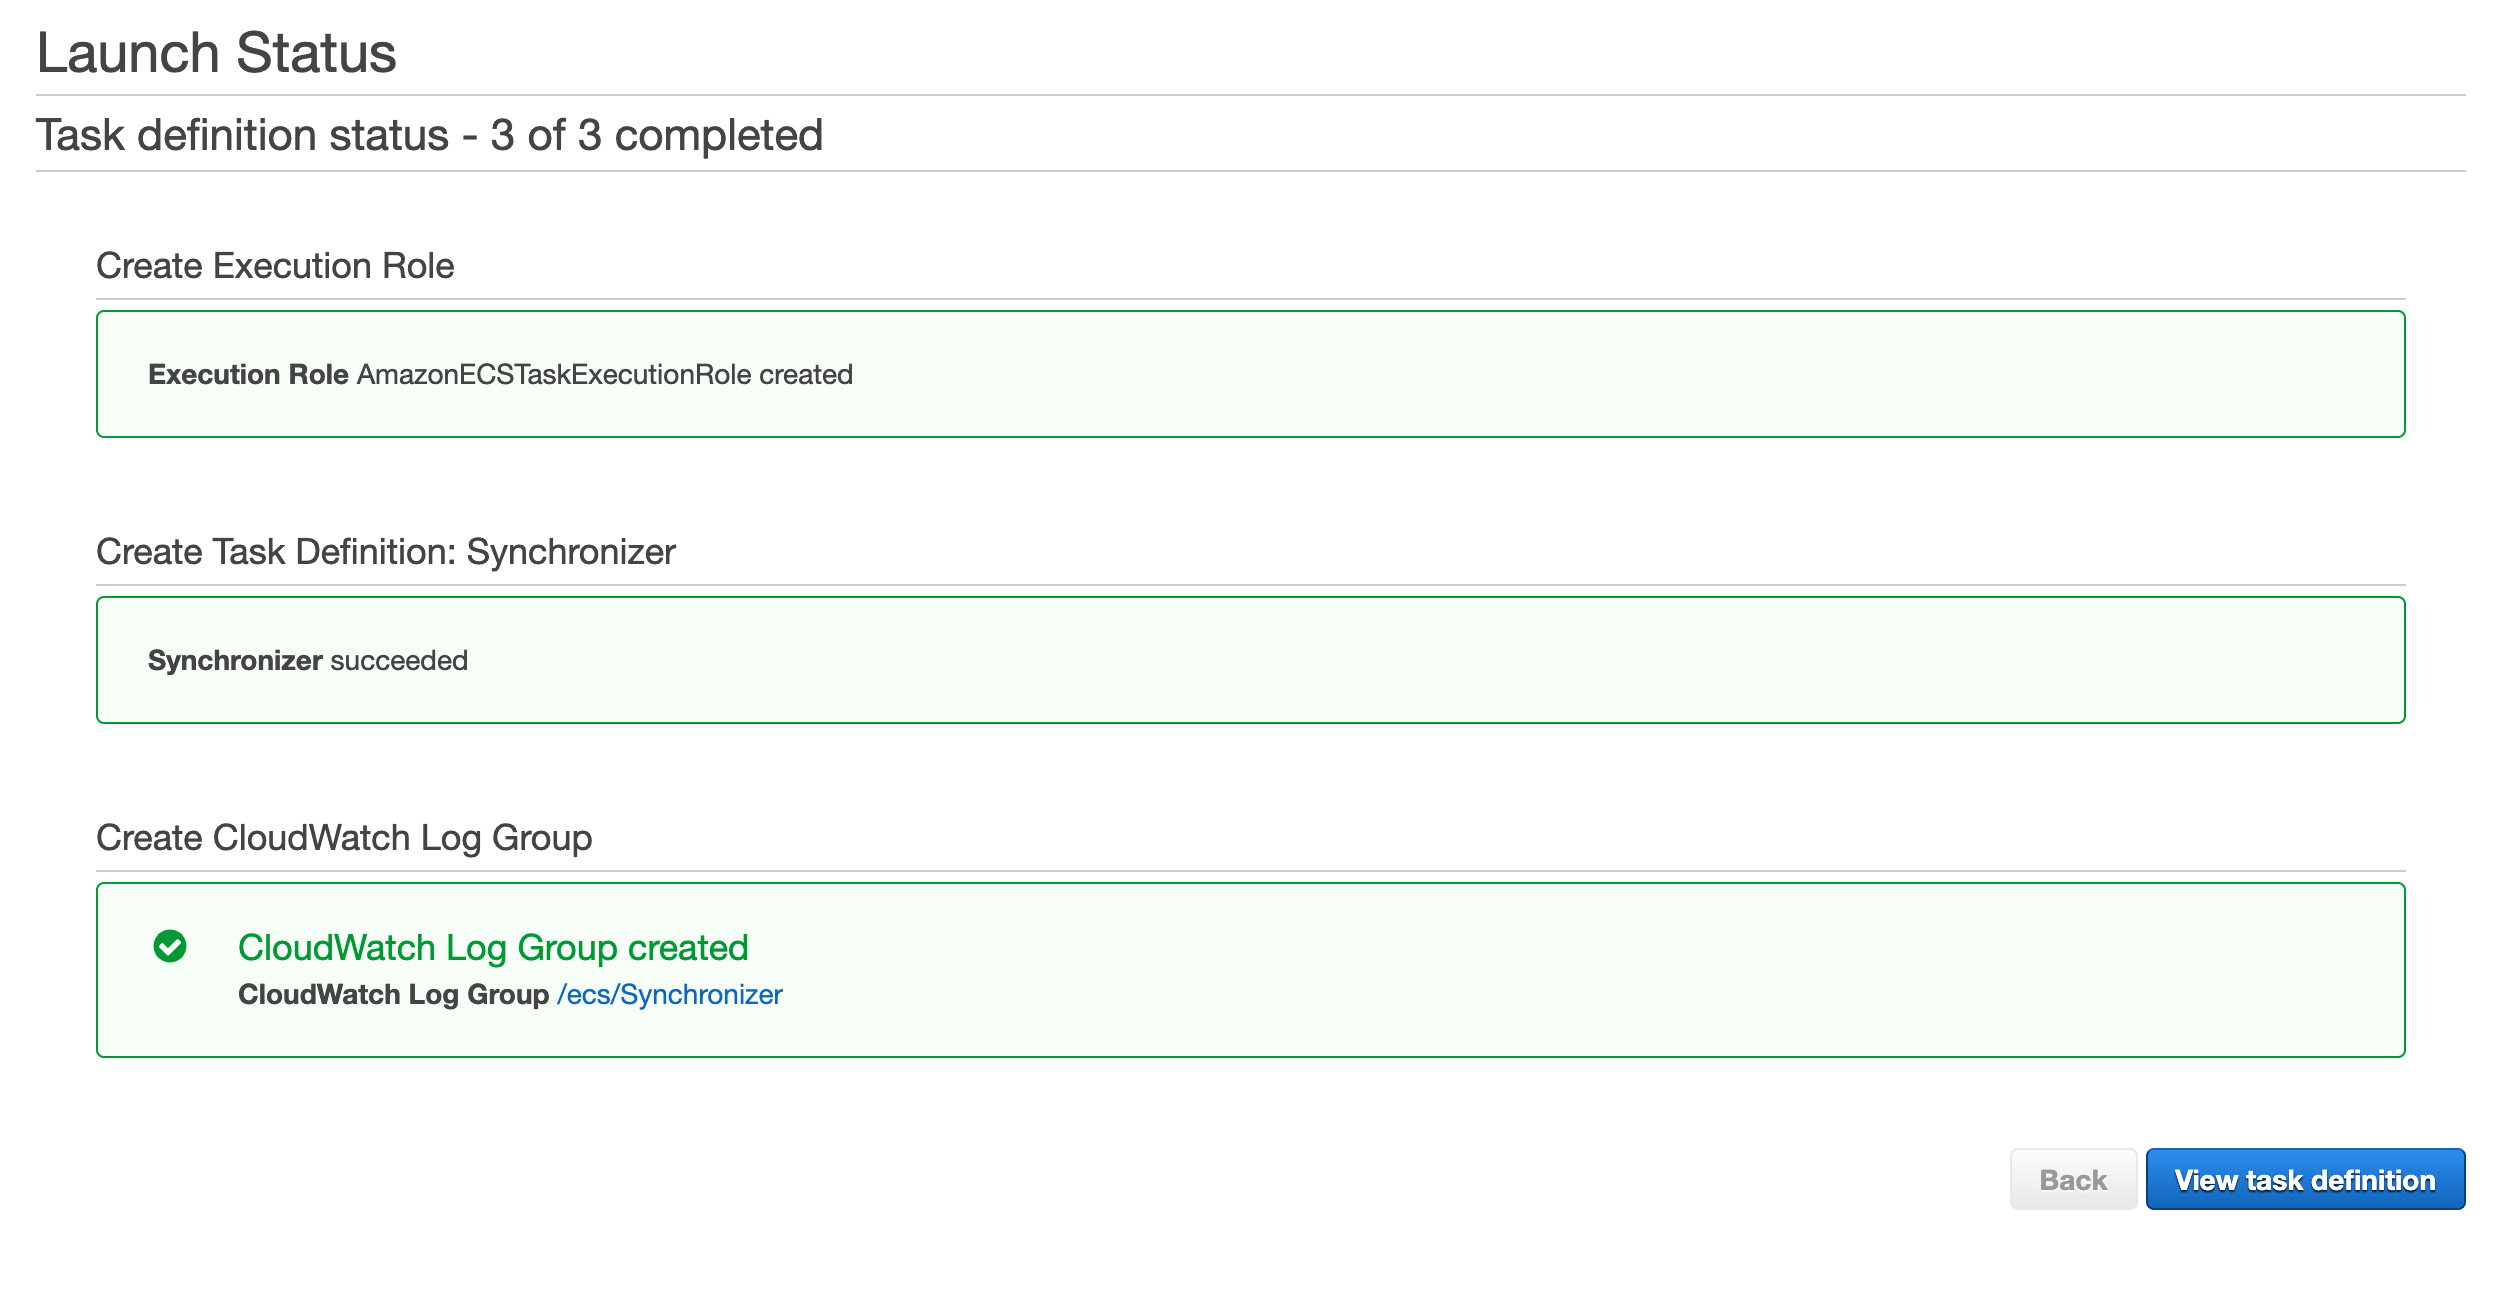
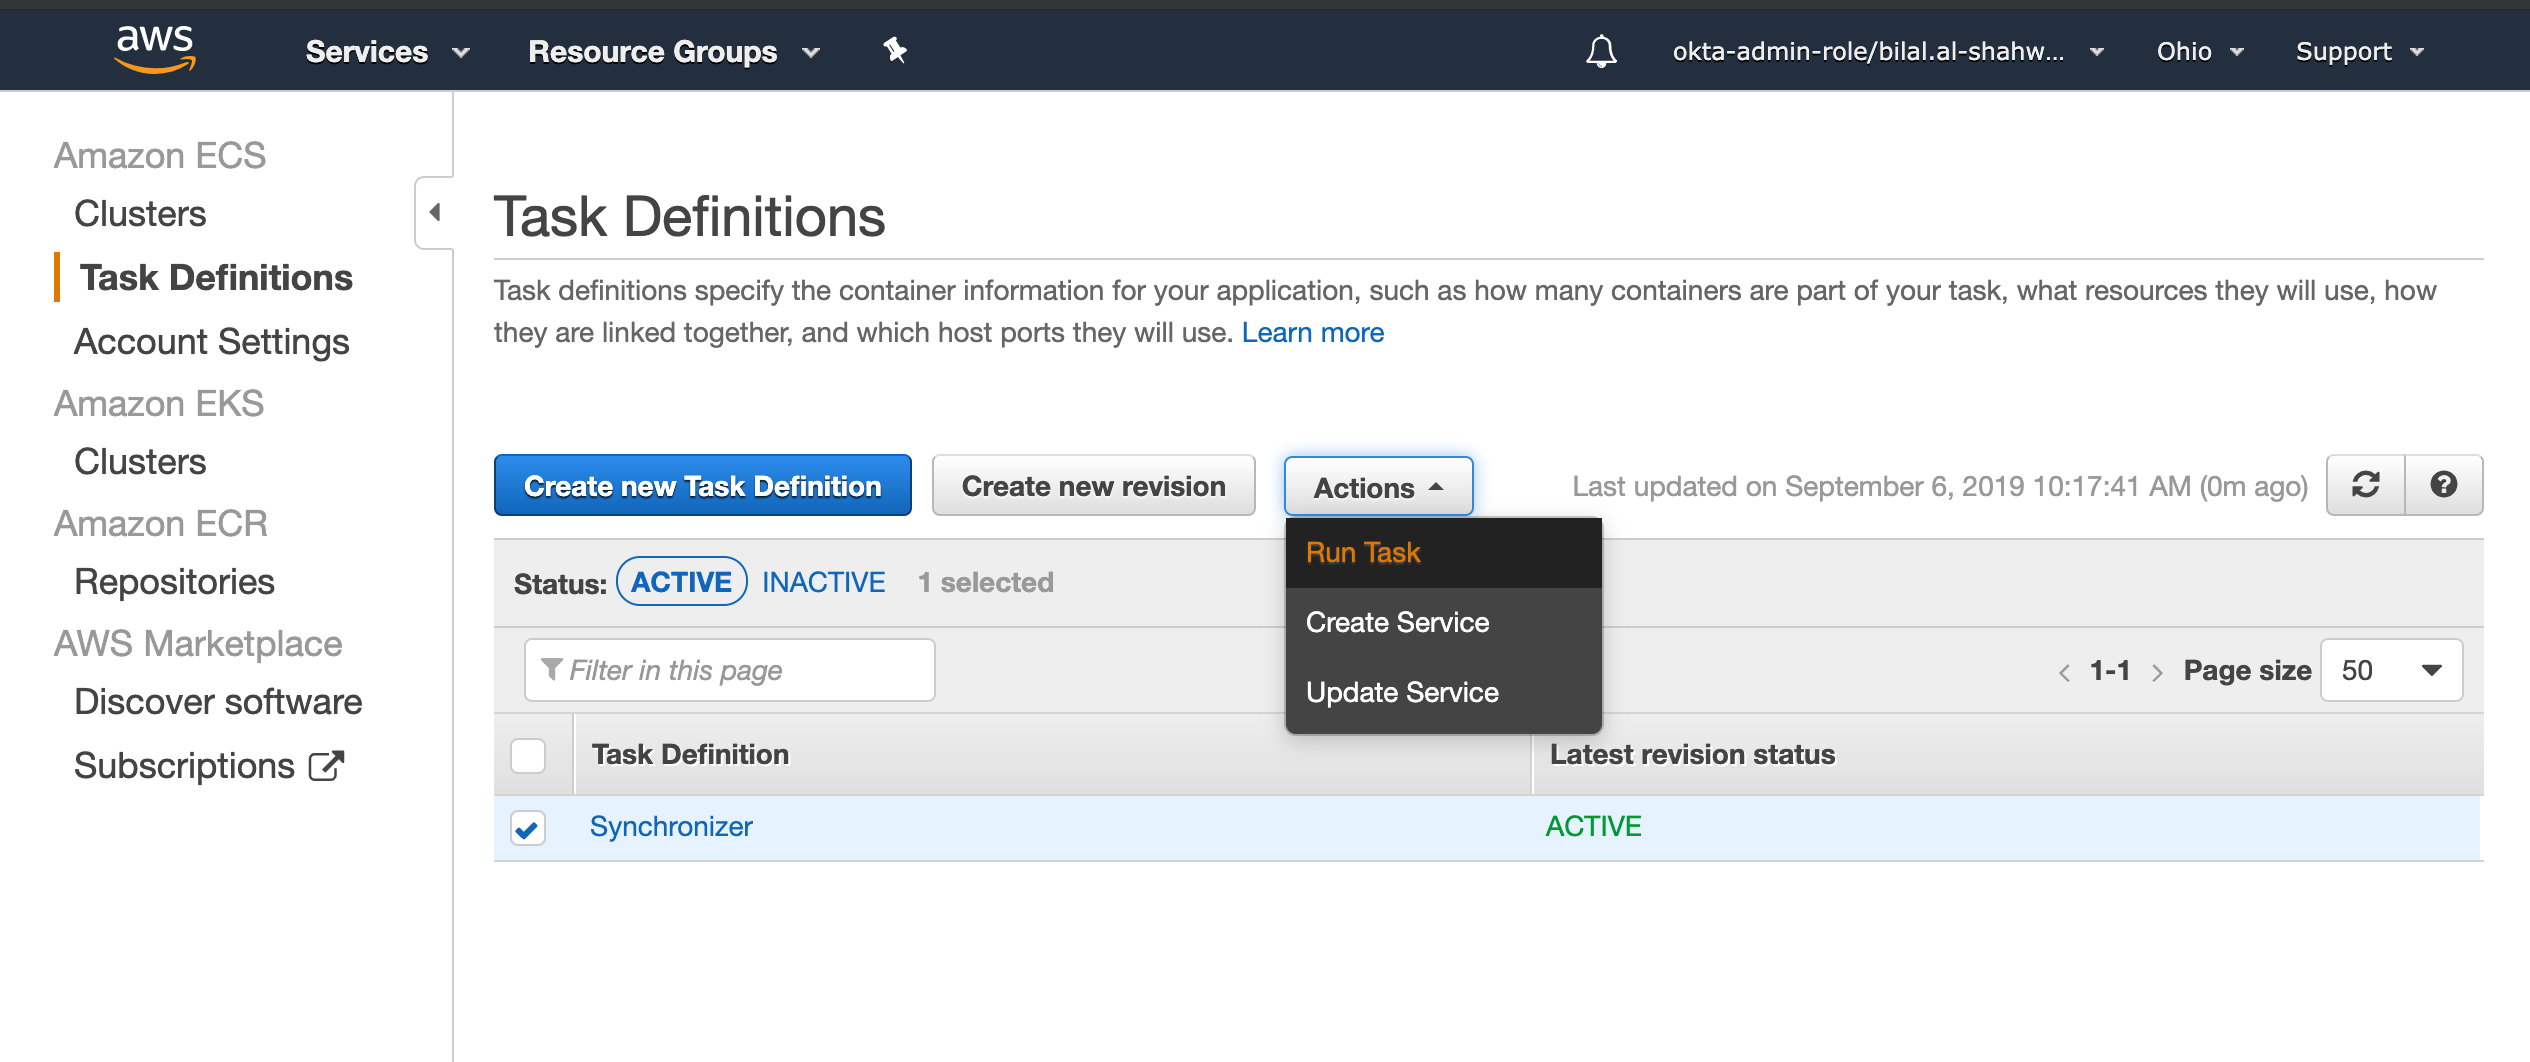
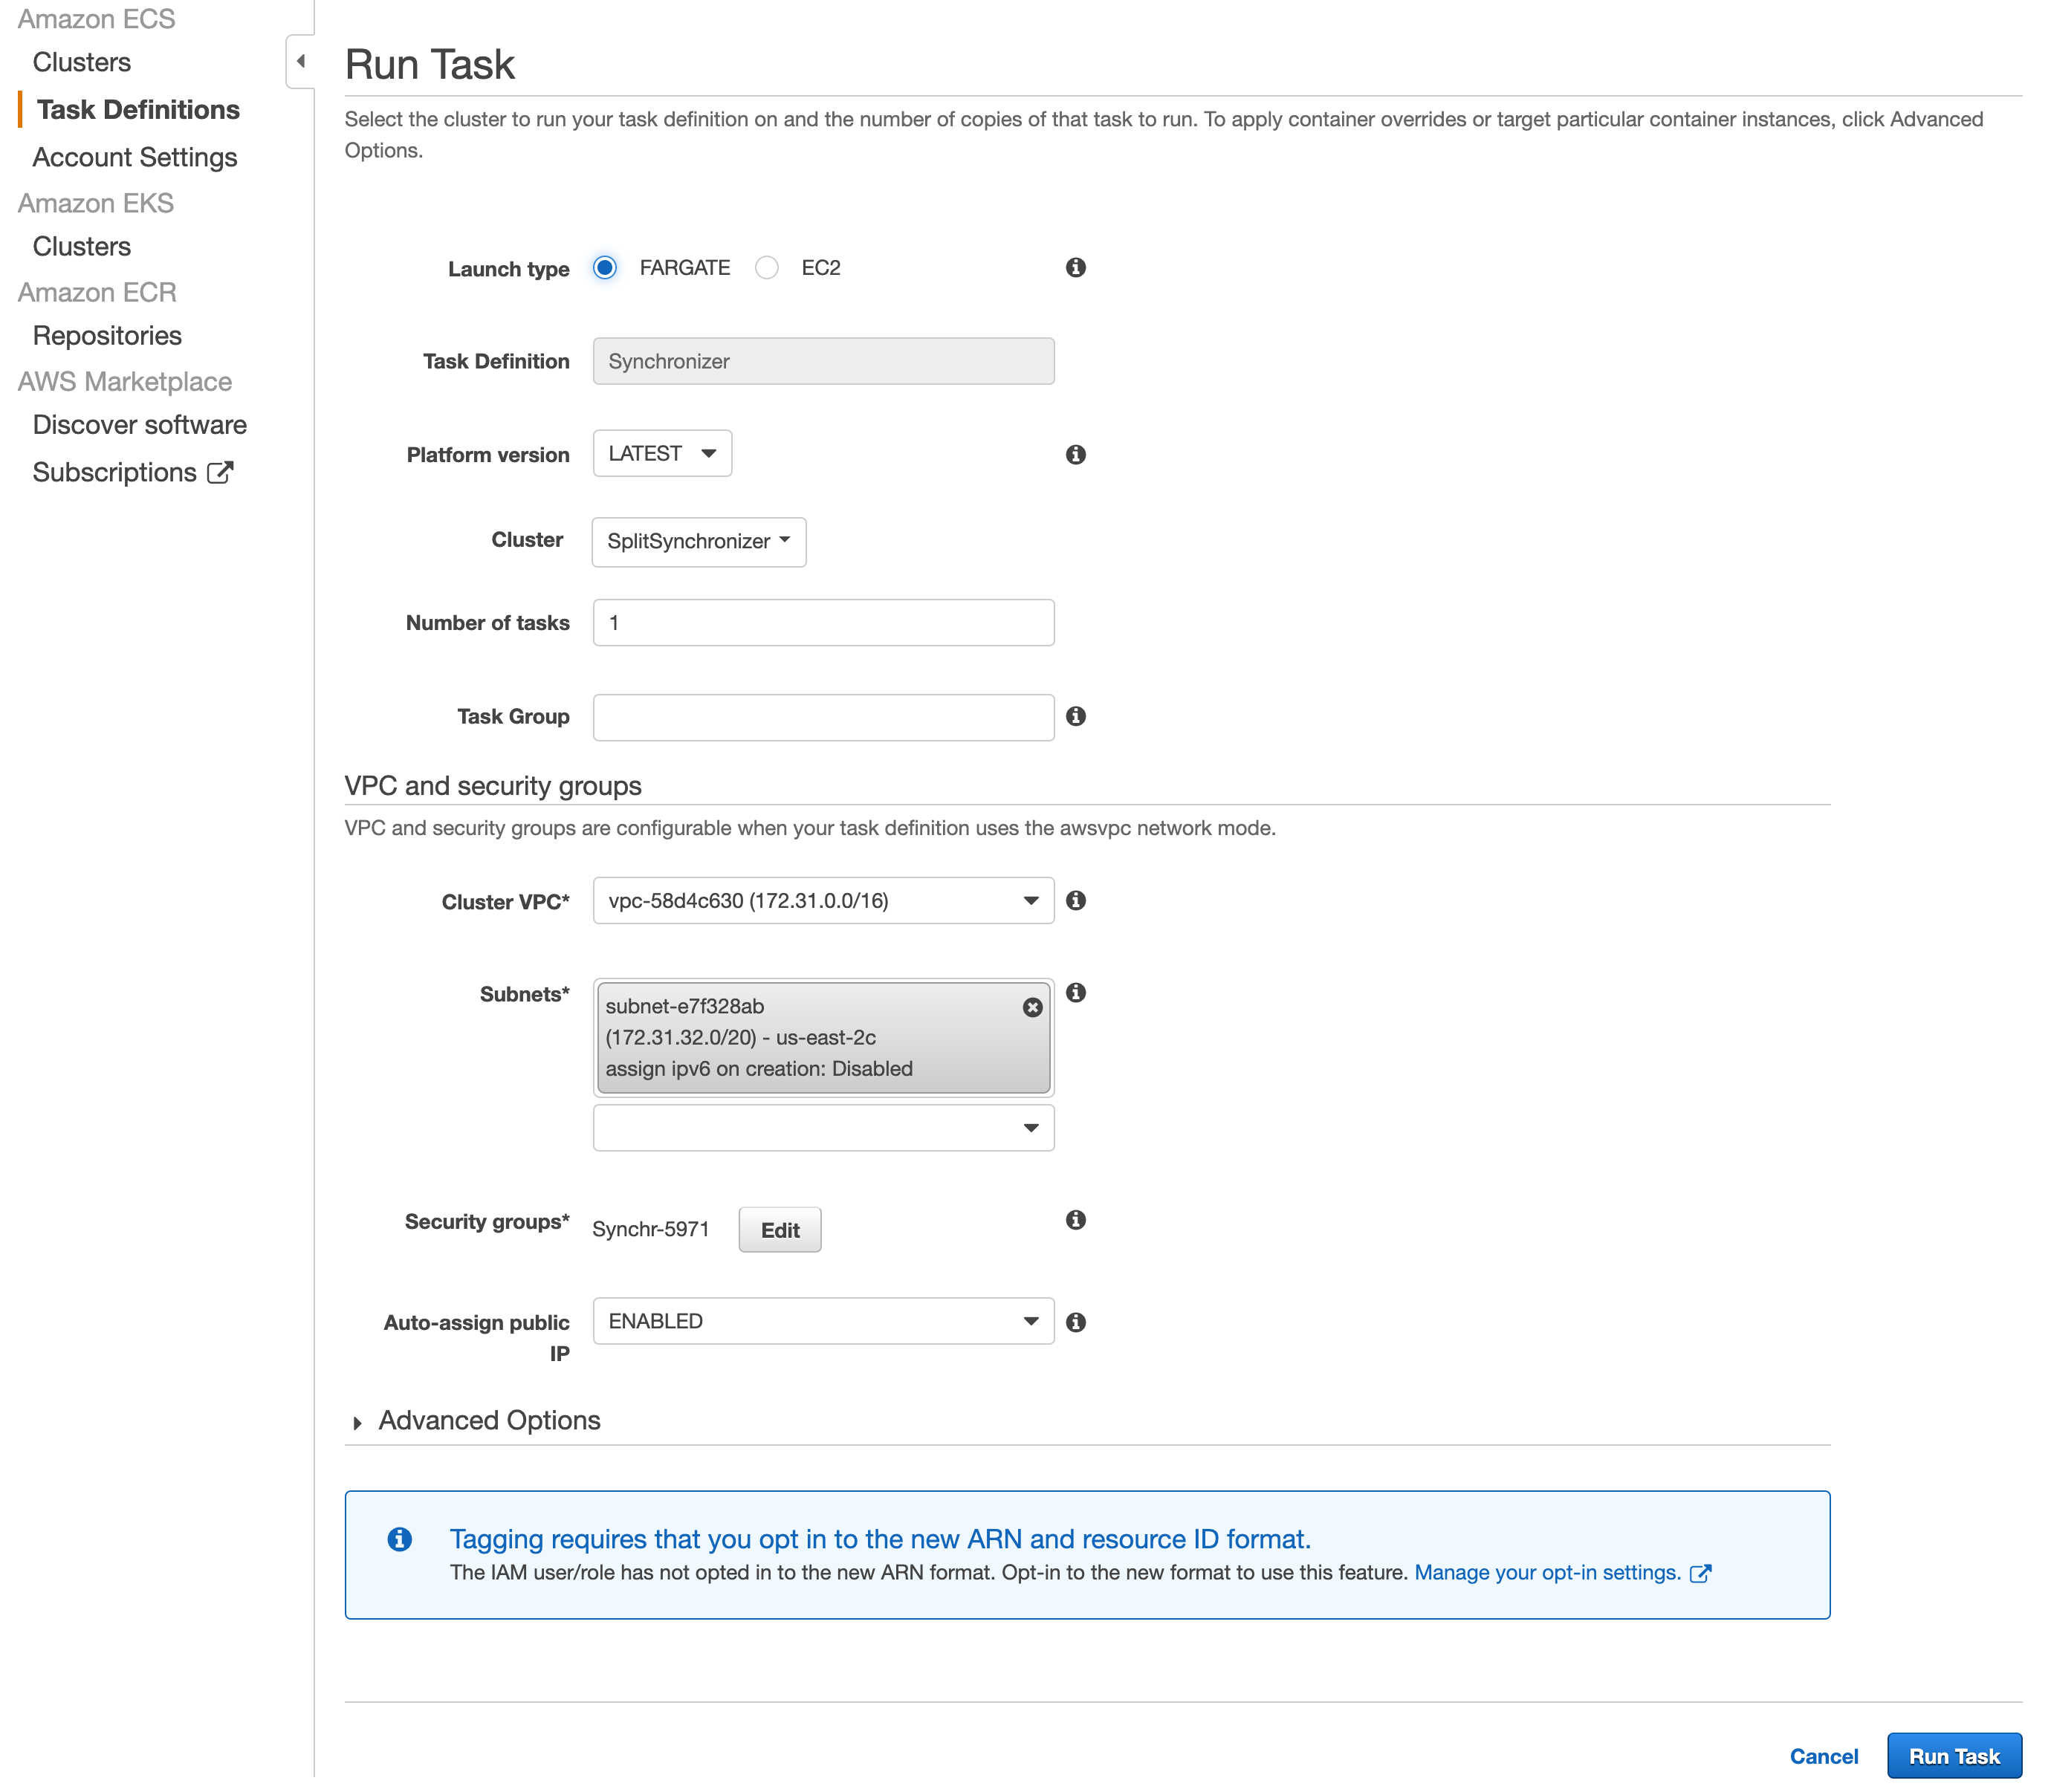
-
Once created, Run the task.
-
Click the Task ID → Logs tab.
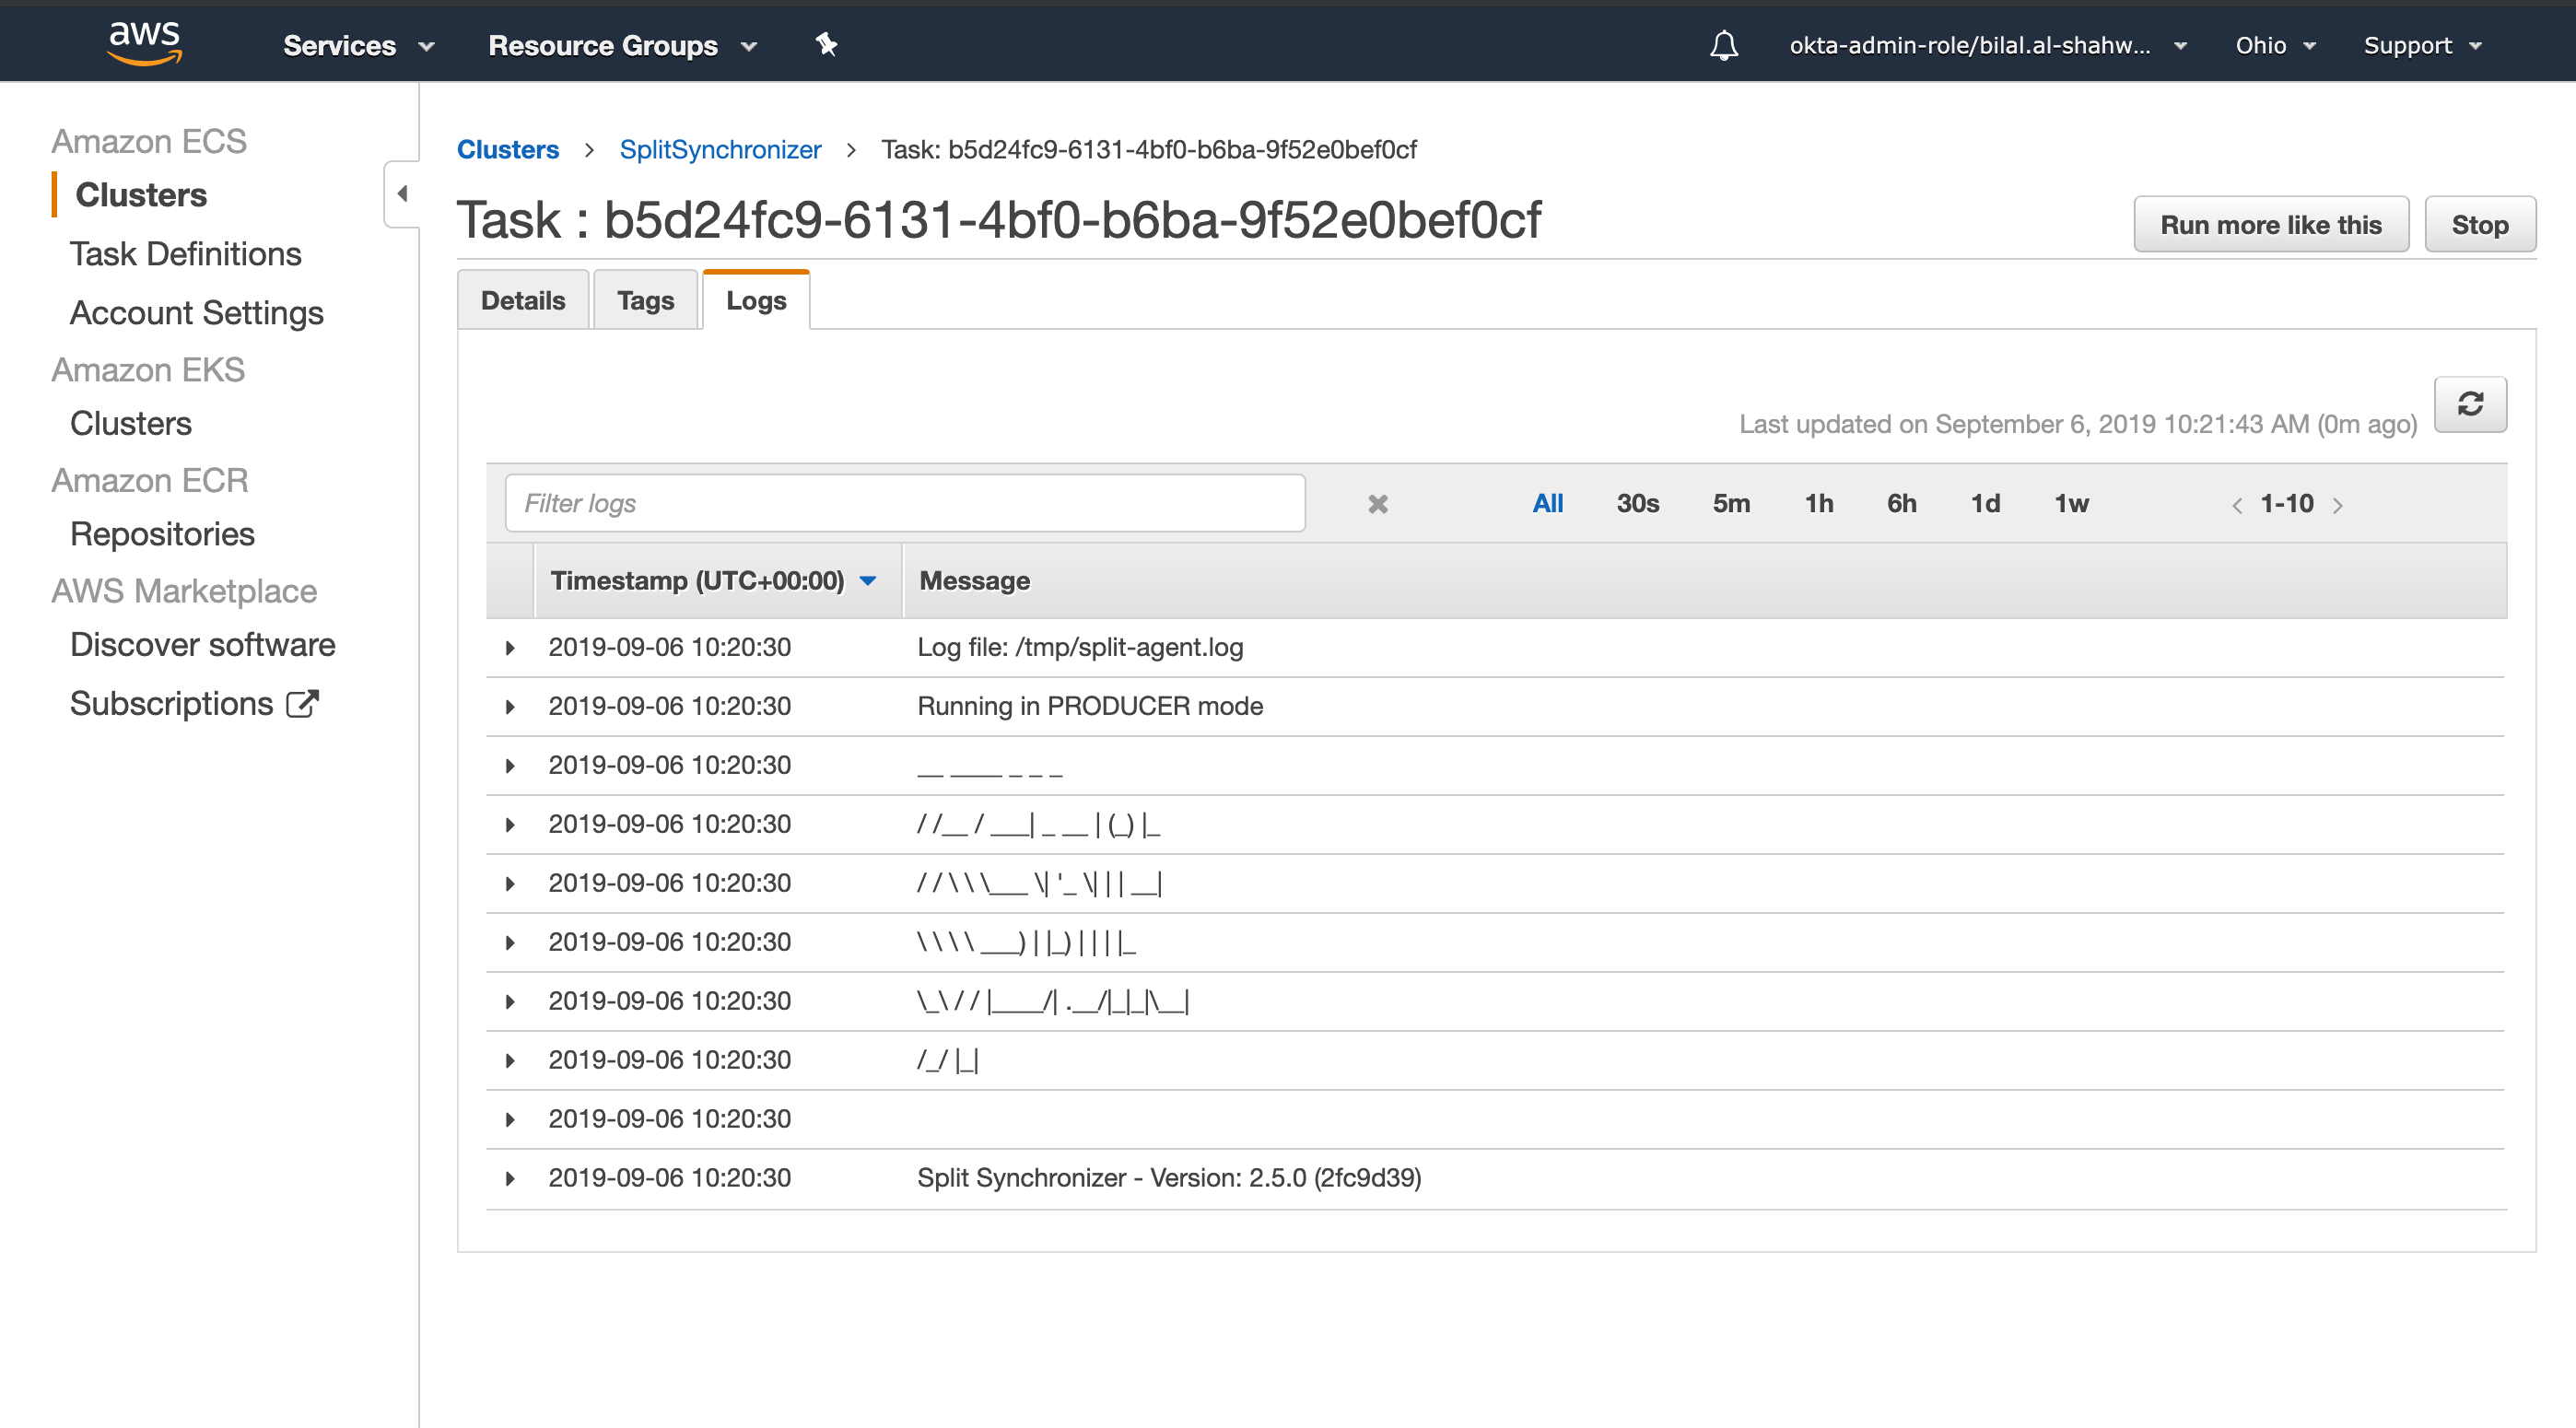
You should see Synchronizer’s startup output.