Deploying the JavaScript SDK to a WordPress Site
Overview
This page walks you through using the JavaScript SDK on a blank page within a Wordpress site by embedding the SDK scripts and code directly.
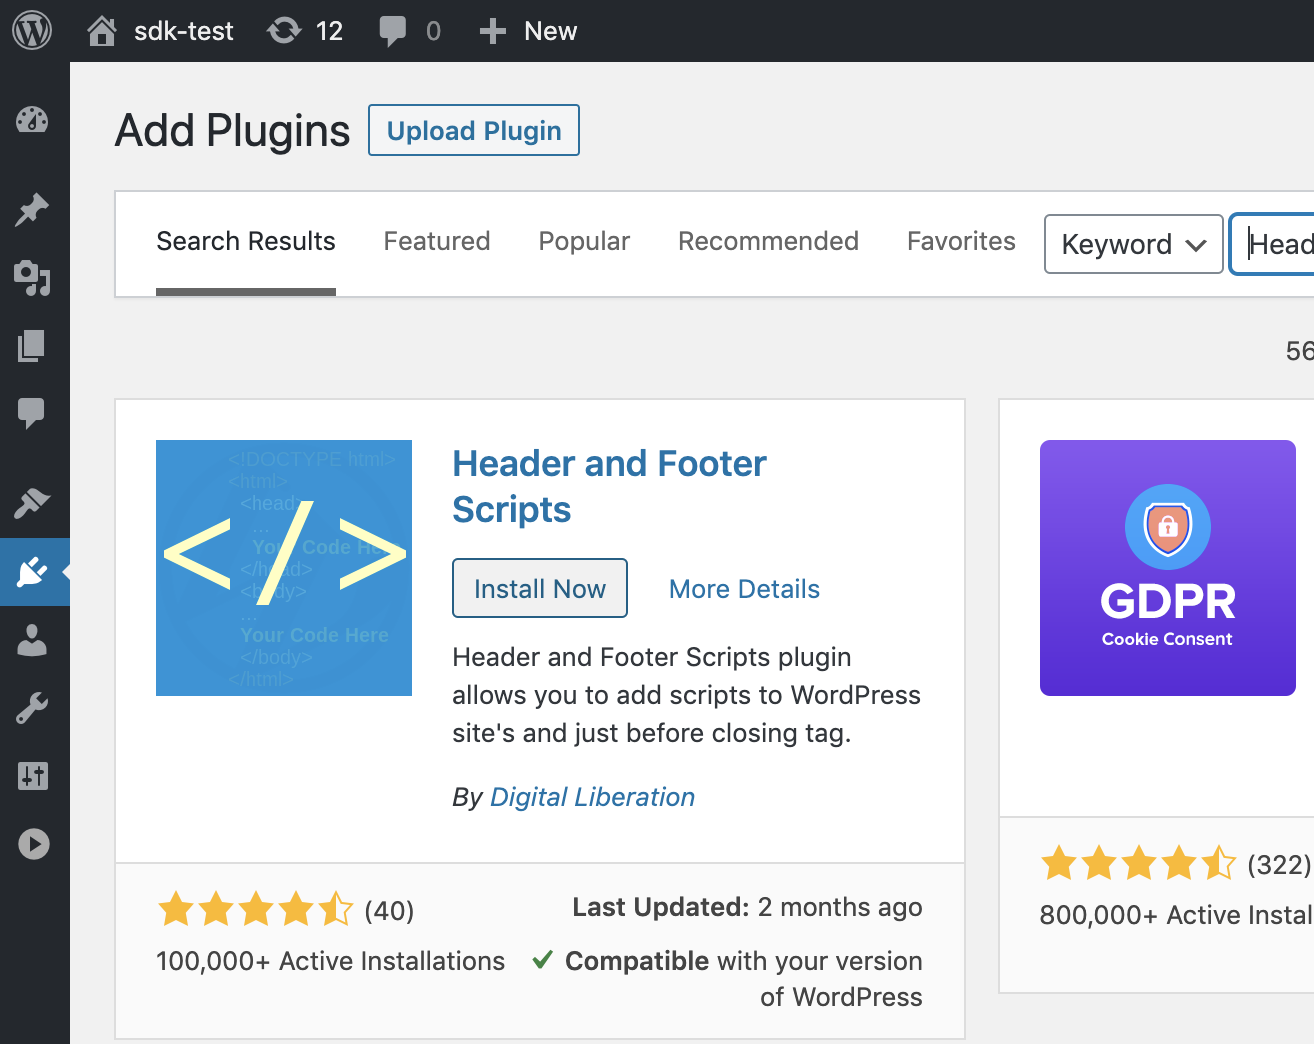
Step 1: Install the Header and Footer Scripts Plugin (recommended)
While not strictly required, it is a good practice use a plugin such as Header and Footer Scripts to manage JavaScript loaded in the page header.
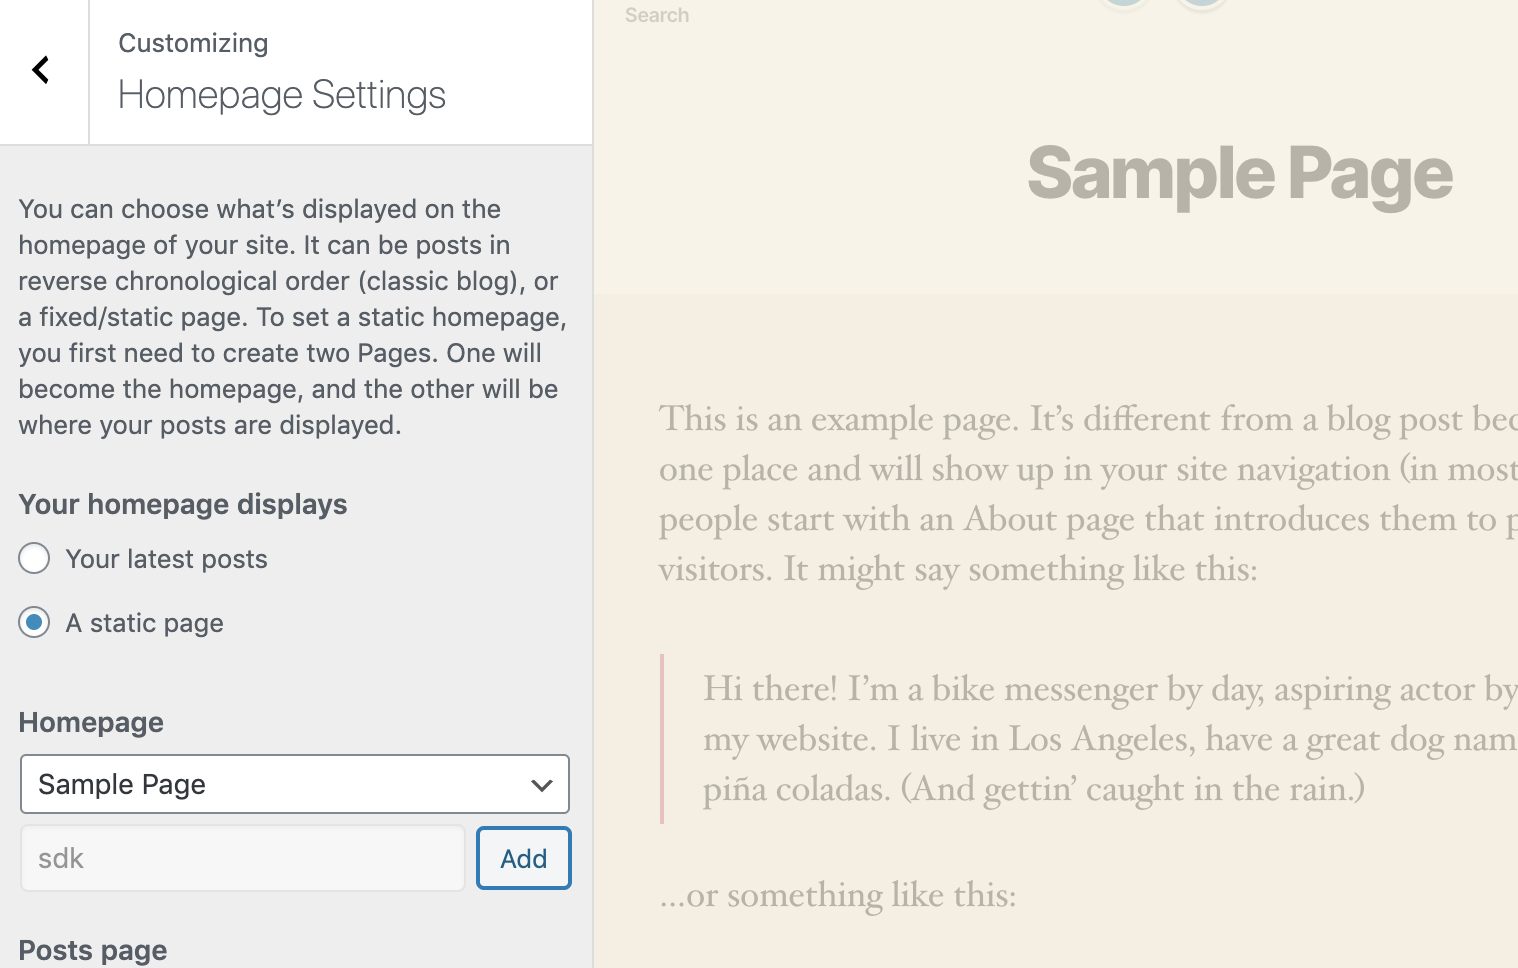
Step 2: Create a Sample Page
Create or open a page in WordPress where you want to deploy the SDK.
Step 3: Insert the SDK Script Tag in the Header
In the page editor, scroll to the bottom and locate the Insert Script to <Head> section provided by the plugin. Paste the following script tag there to load the SDK library:
<script src="https://cdn.split.io/sdk/split-10.21.1.min.js"></script>

Step 4: Add Custom HTML Block with SDK Initialization Code
Click the + sign to add a new block and select Custom HTML.
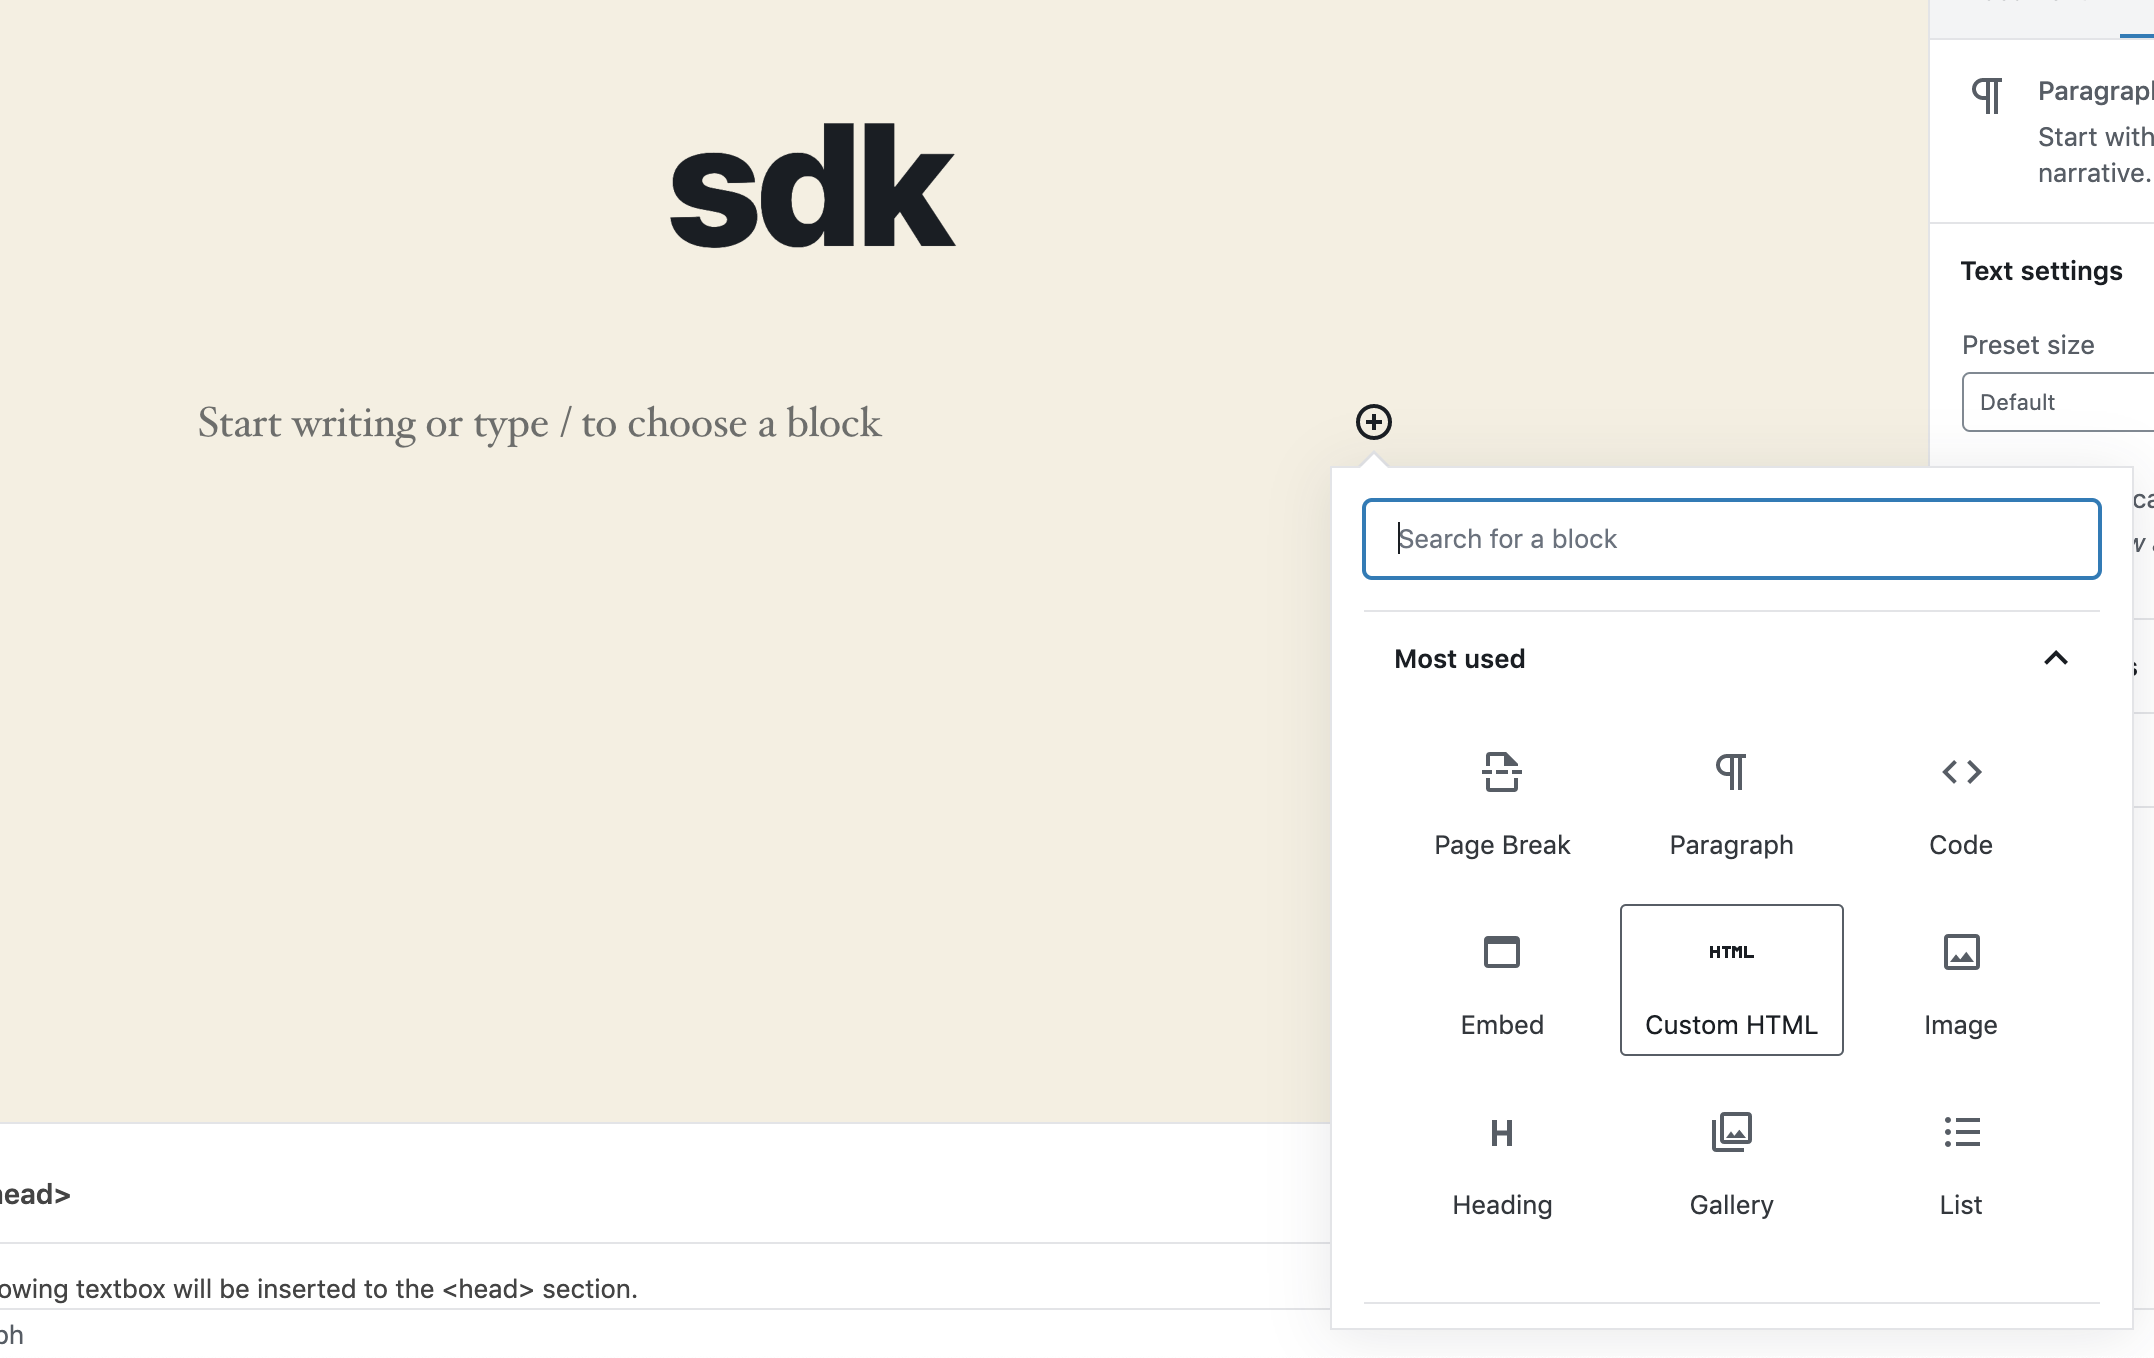
In this block, paste the following JavaScript, replacing the placeholders with your actual API key, user key, and feature flag name:
<p id="sdk"></p>
<script>
factory = splitio({ core: {
 authorizationKey: 'SDK API KEY',
 key: 'USER KEY',
 },
 startup: {
 readyTimeout: 4, requestTimeoutBeforeReady: 4
 },
});
client = this.factory.client();
client.on(client.Event.SDK_READY, () => {
 treatment = client.getTreatment("SPLIT NAME");
 console.log("treatment = "+treatment);
 var pobj = document.getElementById("sdk");
 pobj.innerHTML = "<p>Split: [SPLIT NAME], Treatment = "+treatment+"</p>";
});
</script>
Step 5: Save and Preview
Save the page and open it in your browser. Once the SDK signals it is ready (the SDK_READY event), it will fetch the feature flag treatment and display the result inside the <p> element with id "sdk".
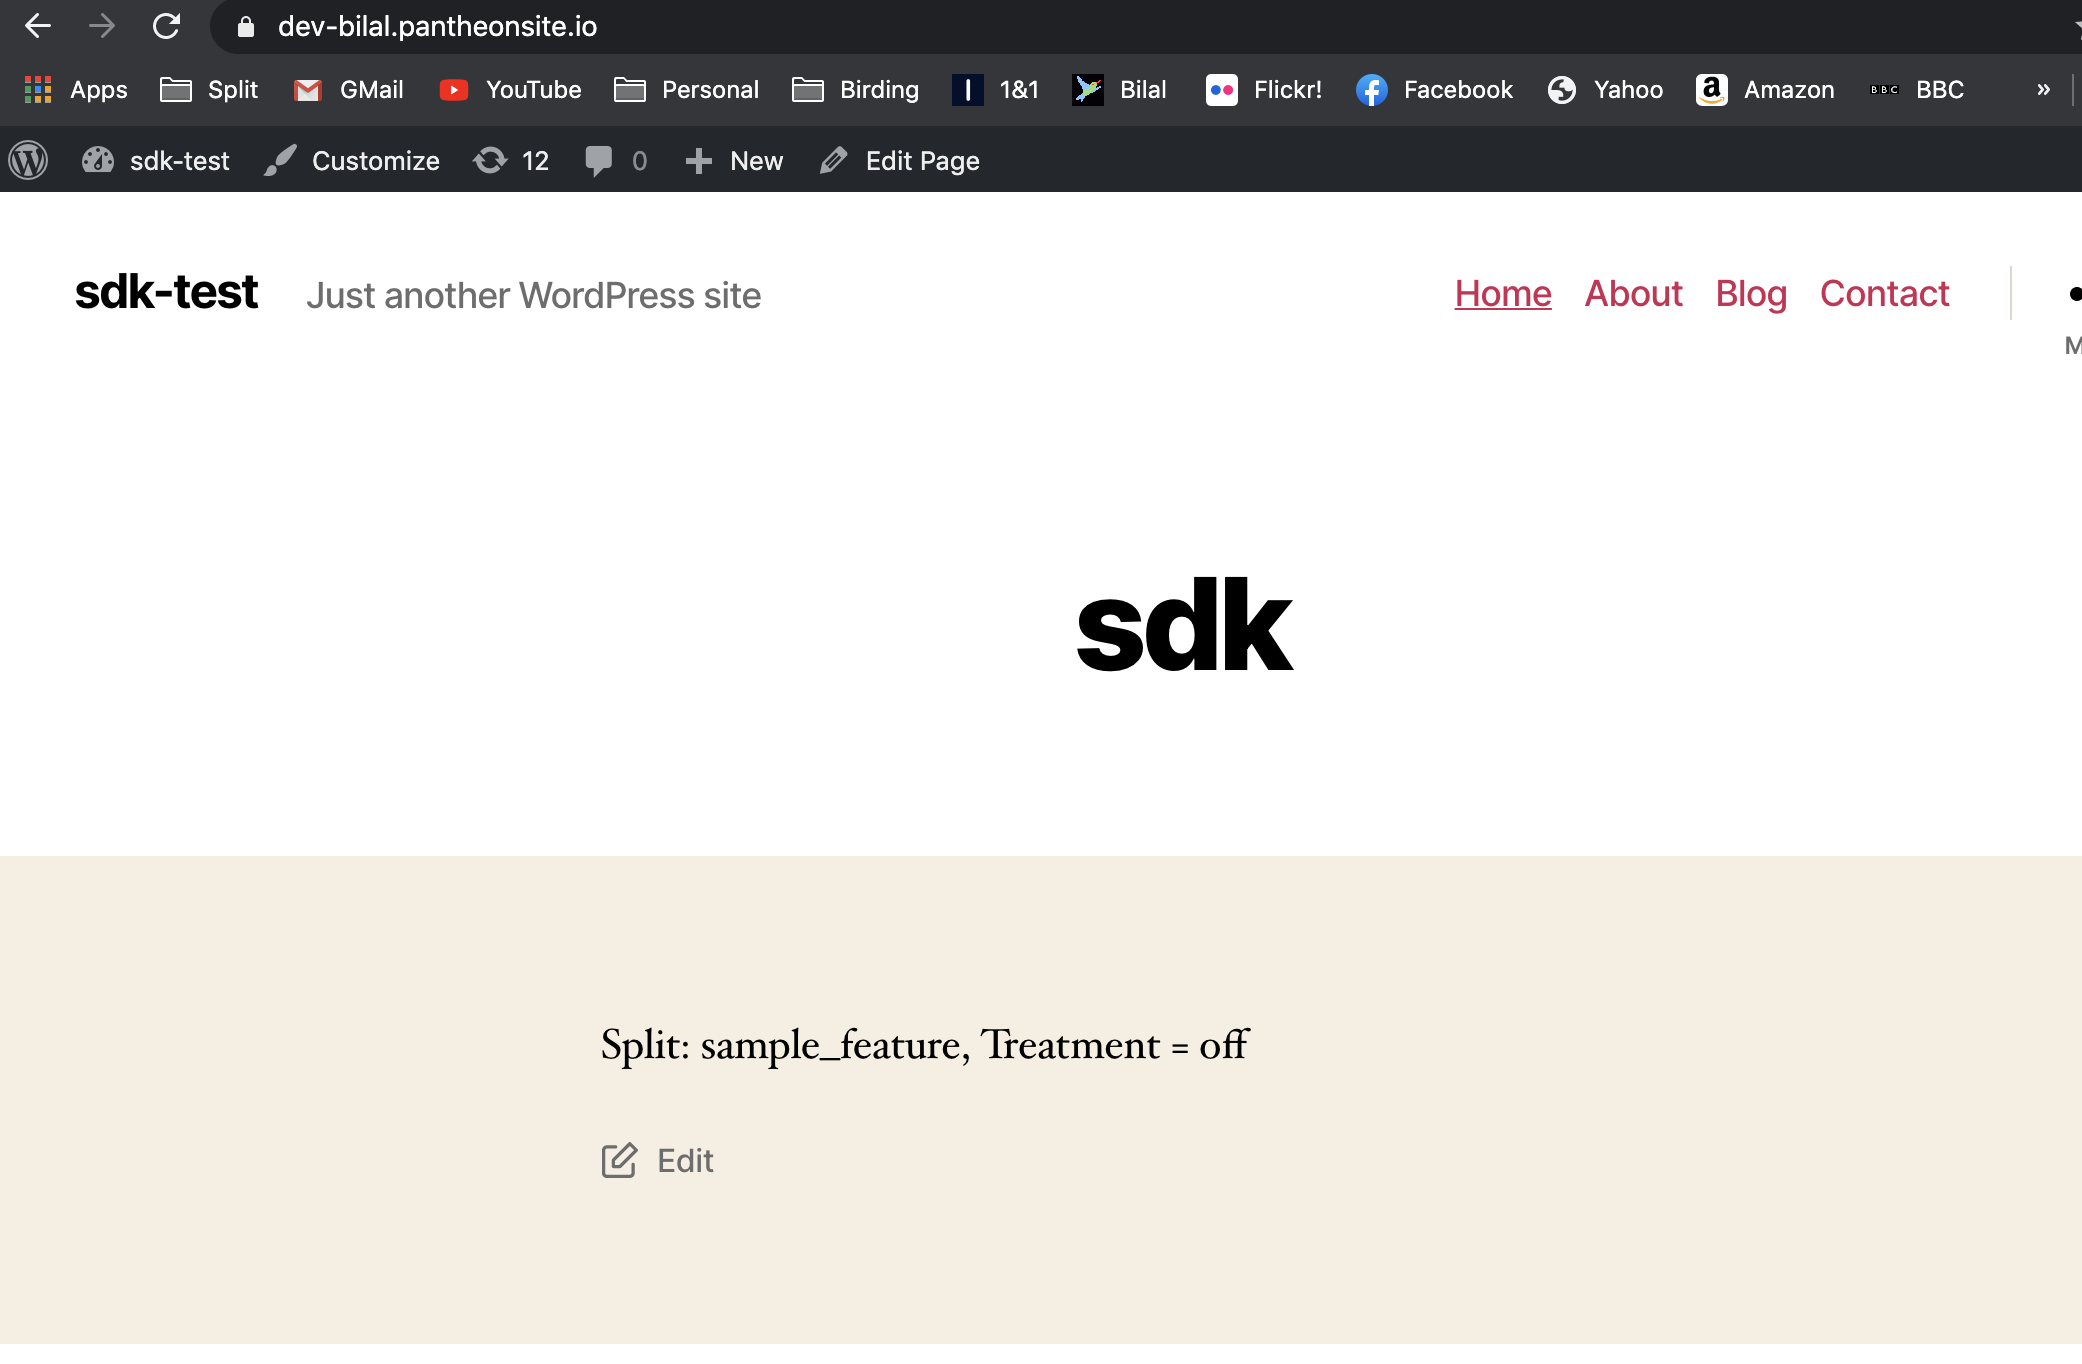
This approach allows you to run the JavaScript SDK on any WordPress page without modifying the theme or server files.