Delay Action
This feature is available under the CHAOS_NG_EXPERIENCE feature flag. For new onboardings, this feature is enabled by default.
If you are an existing Harness Chaos customer and would like to access this feature, please contact your Harness support representative to have it enabled for your account.
What is a Delay Action?
A Delay Action introduces a configurable time delay during chaos experiment execution. It pauses the experiment workflow for a specified duration, allowing you to:
- Create time gaps between different experiment phases
- Allow systems to stabilize after fault injection
- Wait for monitoring systems to capture metrics
- Simulate real-world scenarios where operations require time
- Control the timing and pacing of experiment execution
When to Use Delay Actions
Delay actions are particularly useful in the following scenarios:
System Stabilization
- After Fault Injection: Allow time for systems to react to injected faults
- Before Validation: Wait for systems to reach a steady state before running probes
- During Recovery: Give systems time to recover from chaos events
Monitoring and Observability
- Metric Collection: Allow monitoring systems to collect sufficient data points
- Alert Processing: Wait for alerting systems to detect and process anomalies
- Dashboard Updates: Give dashboards time to reflect system state changes
Realistic Scenarios
- Gradual Rollouts: Simulate gradual deployment or rollback scenarios
- User Behavior: Model real-world user interaction patterns
- System Dependencies: Account for dependencies that have inherent delays
How to configure a Delay Action
Step 1: Create a New Action
-
Navigate to your Probes & Actions and go to the Actions tab
-
Click New Action and select Delay from the dropdown.

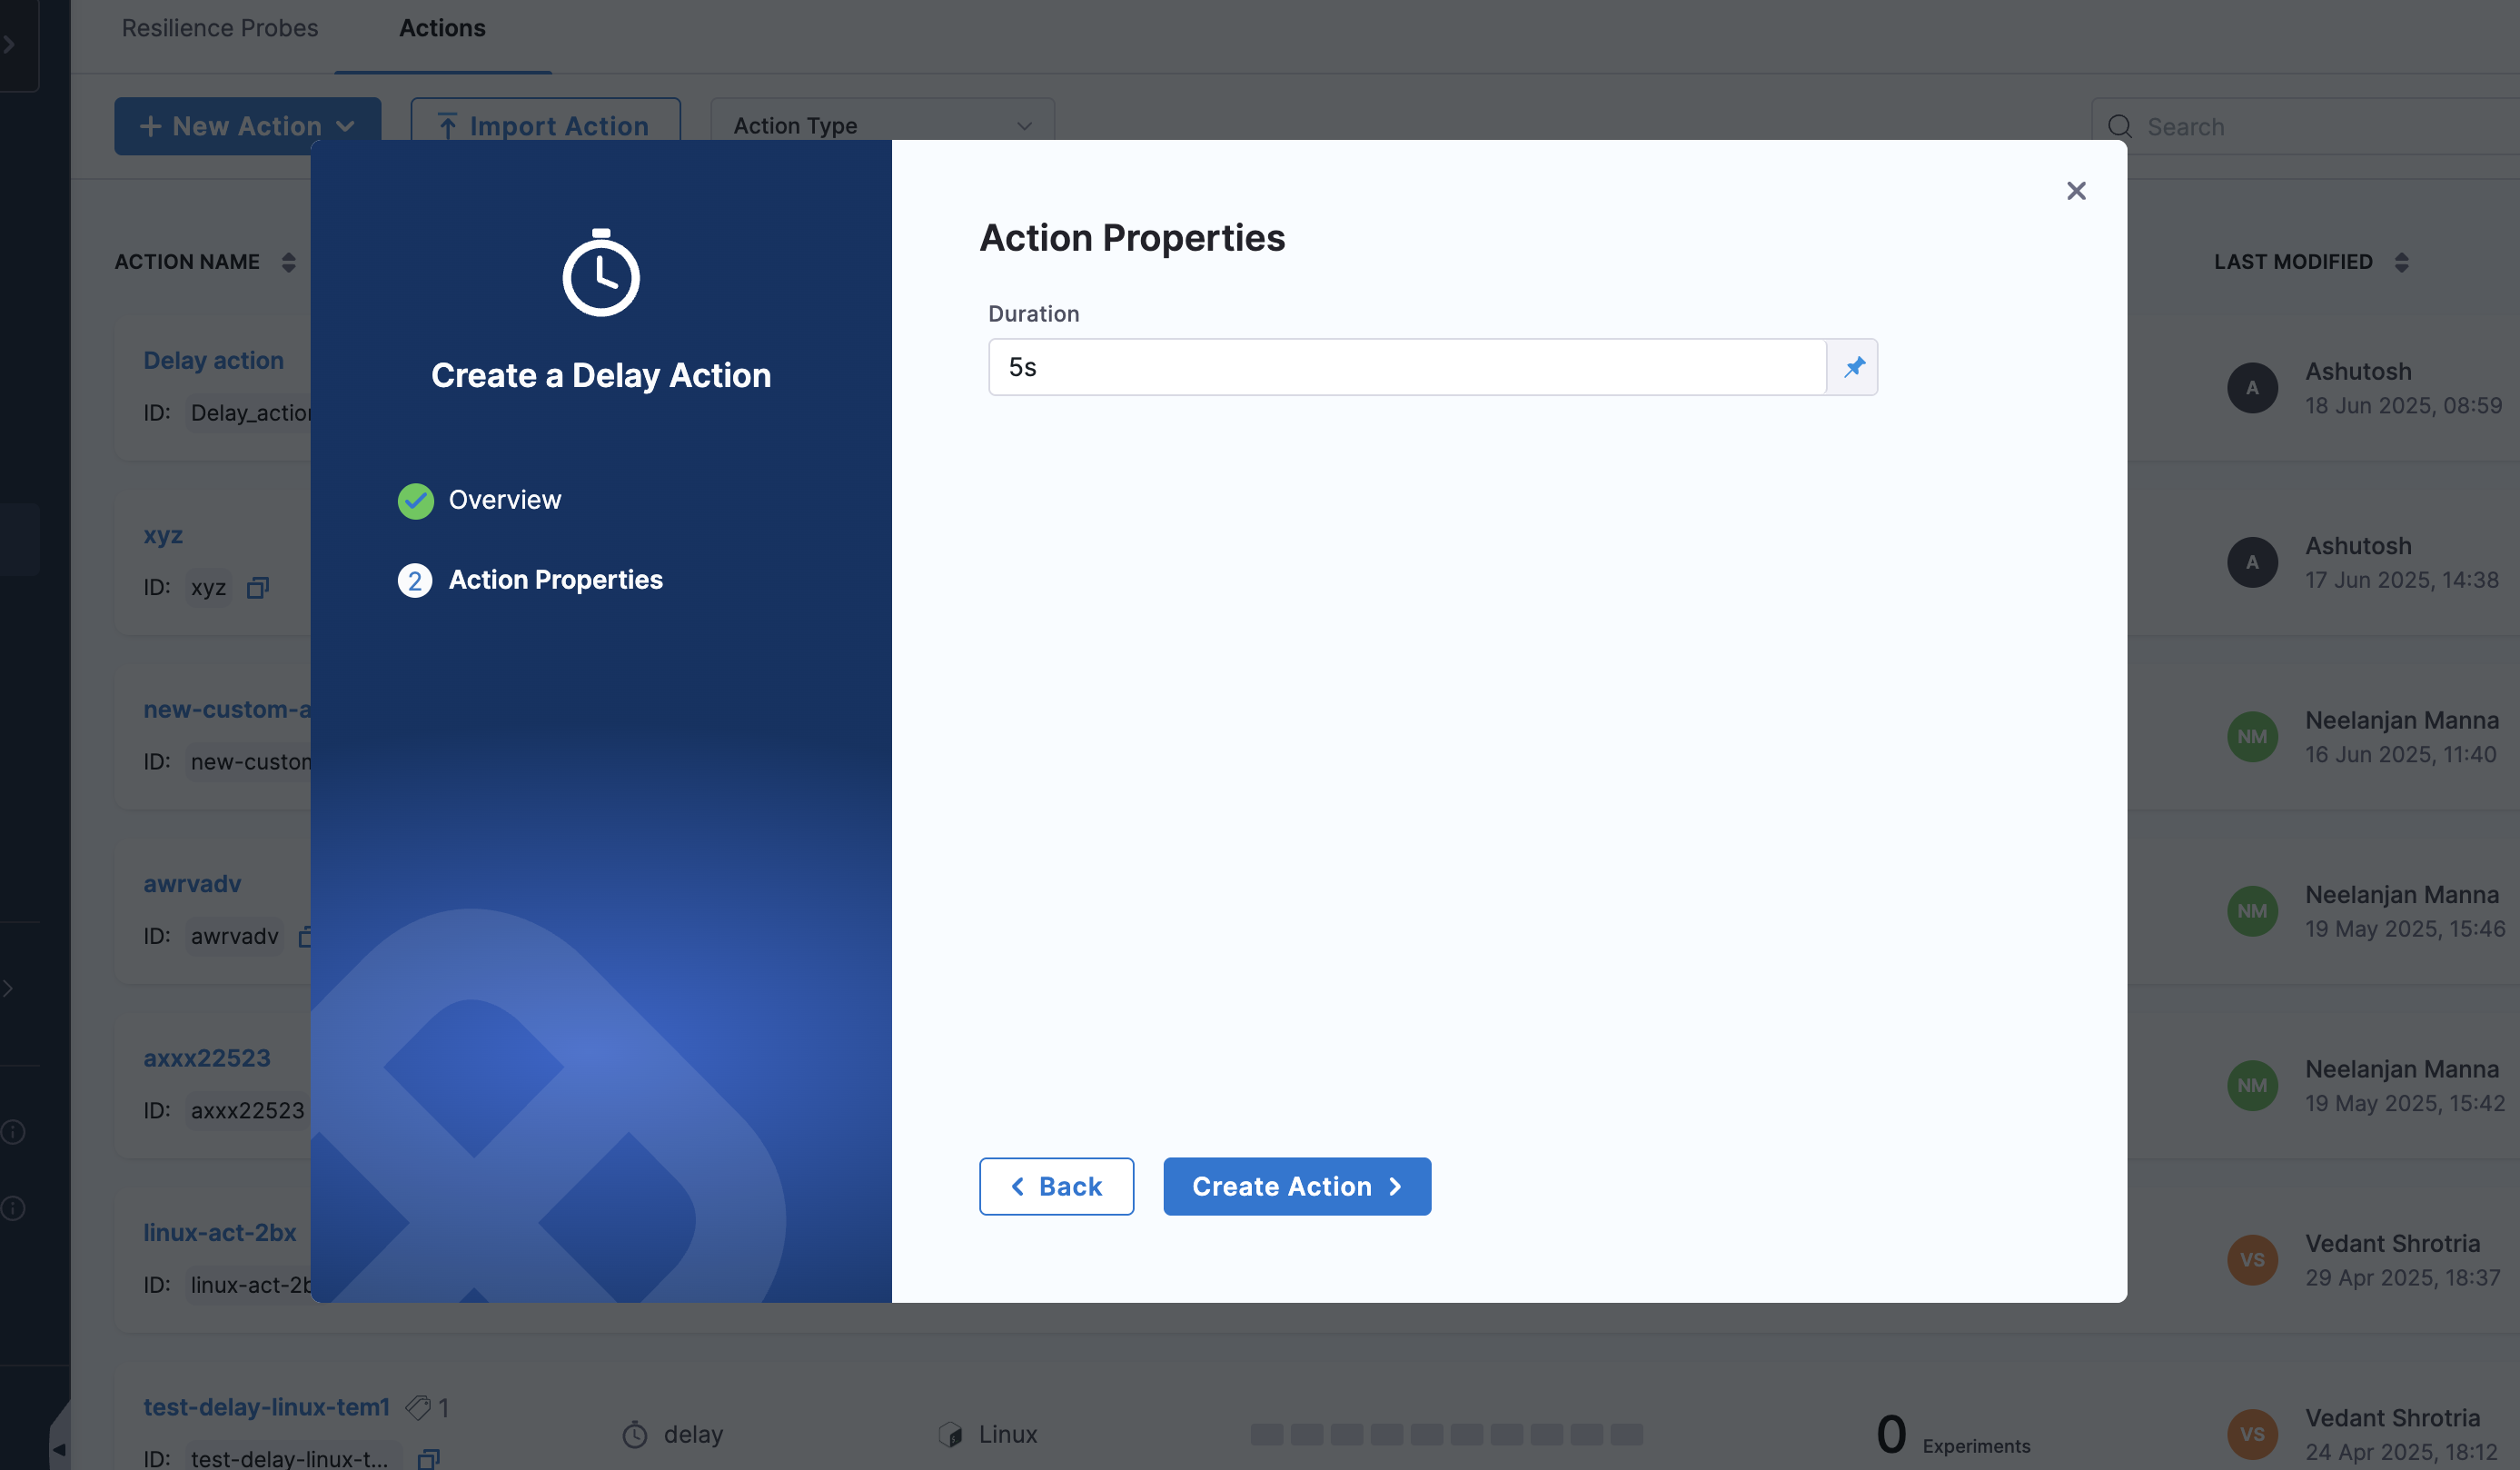
Step 2: Configure Delay Parameters
Configure the following parameters for your delay action:
-
Action Name: Provide a descriptive name for the delay action (e.g., "Wait for system stabilization")
-
Infrastructure Type: Select the target infrastructure (e.g., Kubernetes)

-
Duration: Specify the delay duration
Step 3: Position the Action
Place the delay action at the appropriate point in your experiment workflow:
- Before Faults: To prepare systems before chaos injection
- Between Faults: To create gaps between different fault injections
- After Faults: To allow systems to stabilize before validation
Monitoring Delay Actions
Timeline View
- View delay execution in the experiment timeline
- Track delay start and completion times
- Monitor overall experiment duration impact
Execution Logs
- Review delay action logs for execution details
- Check for any issues during delay execution
- Validate that delays are executed as configured
Common Patterns
Progressive Delays
Use increasing delay durations for progressive fault injection:
Fault 1 → 30s delay → Fault 2 → 60s delay → Fault 3 → 90s delay
Recovery Windows
Create recovery windows between fault phases:
Chaos Phase → 2min delay → Validation Phase → 1min delay → Cleanup Phase
Monitoring Intervals
Align delays with monitoring collection intervals:
Fault Injection → 30s delay (metric scrape interval) → Probe Validation